RSS Feed
 As a young boy I remember my grandma, Oma to me would go buy peaches by the bushels to make can peaches which i still ask for to this day whenever I see her. So my love affair for peaches goes back quite a bit and can wait for summer for these wonderful fruits to come into season. These peach and pecan scone pack a great baked peach taste in a soft flaky scone straight out of the oven.
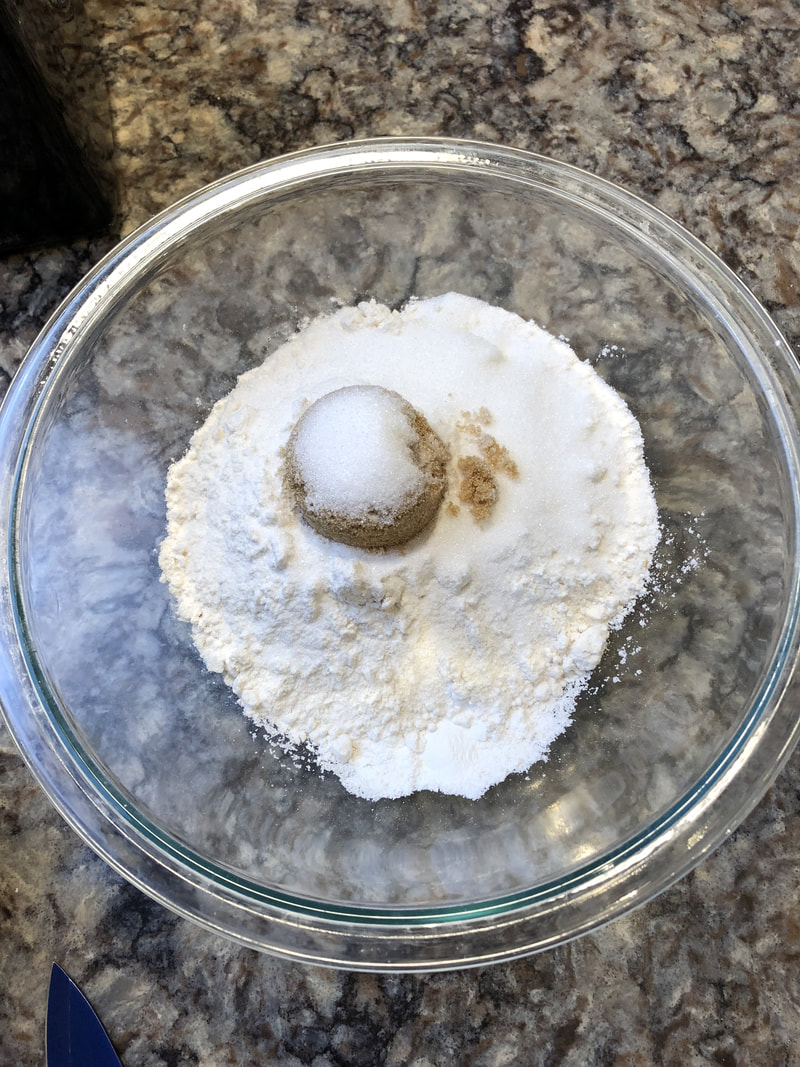
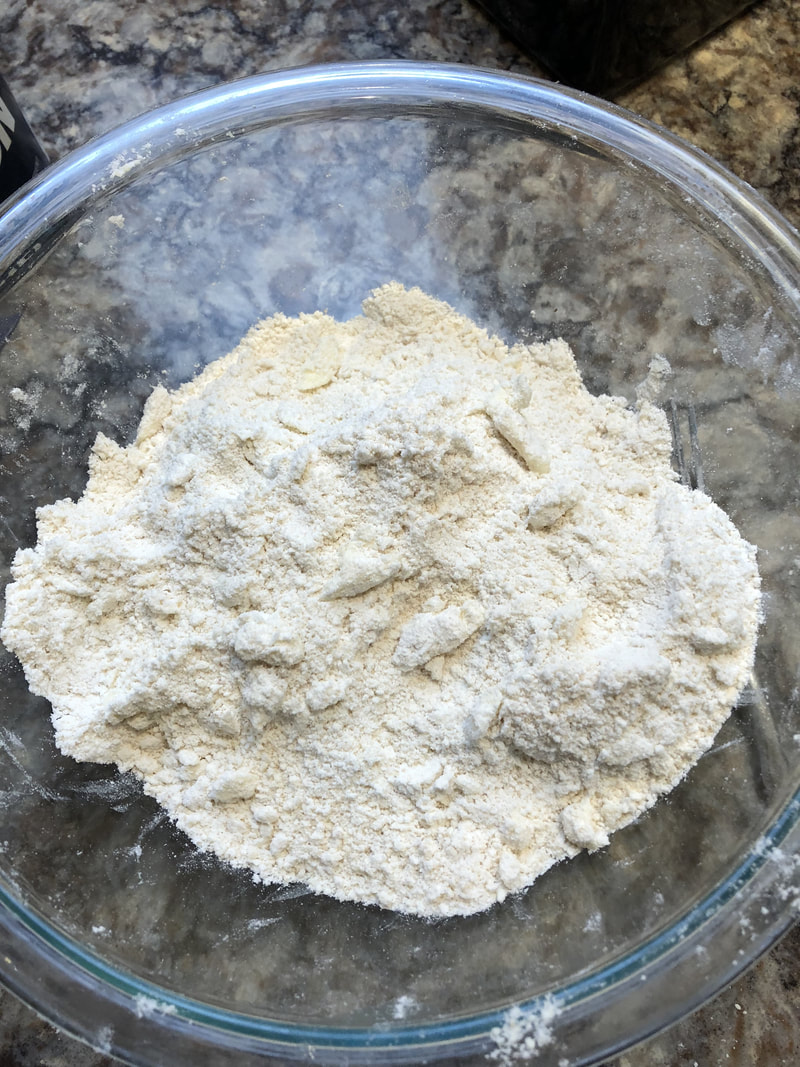
The first thing you want to do is to combine flour, salt, baking powder, baking soda, and brown sugar and granulated sugar. Make sure you combine everything so you do not have any clumps before you add the butter. You want to add the butter in cold, and i mean COLD. The colder the butter is the flakier the scone will be. I typically try to get most of the butter the size of large grind corn meal, but if you have a few larger chunks it will be fine. 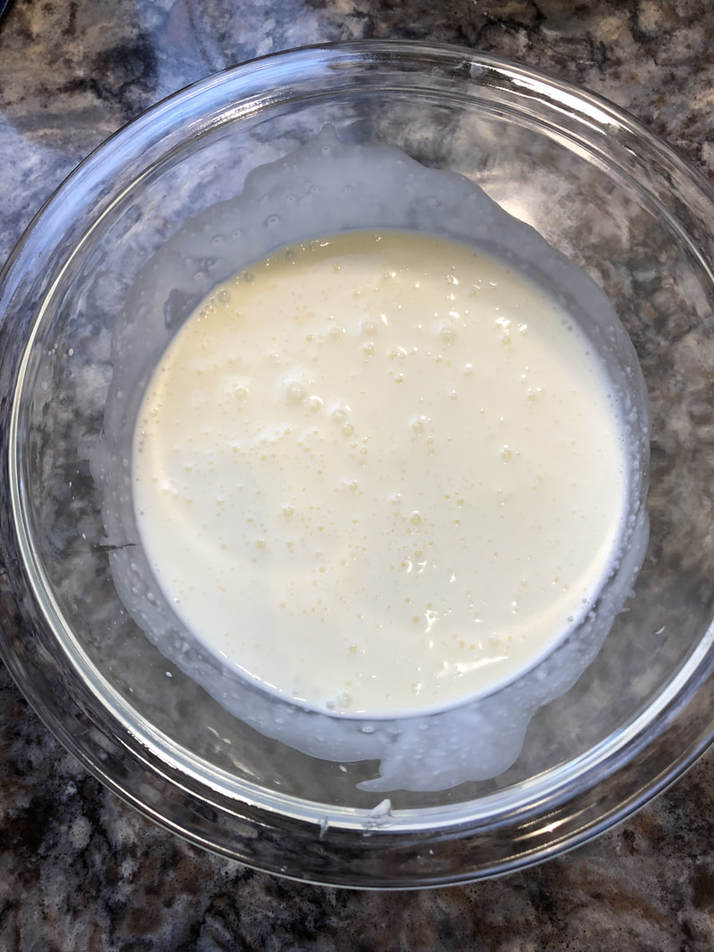 Add the Cream and egg together and whisk together. 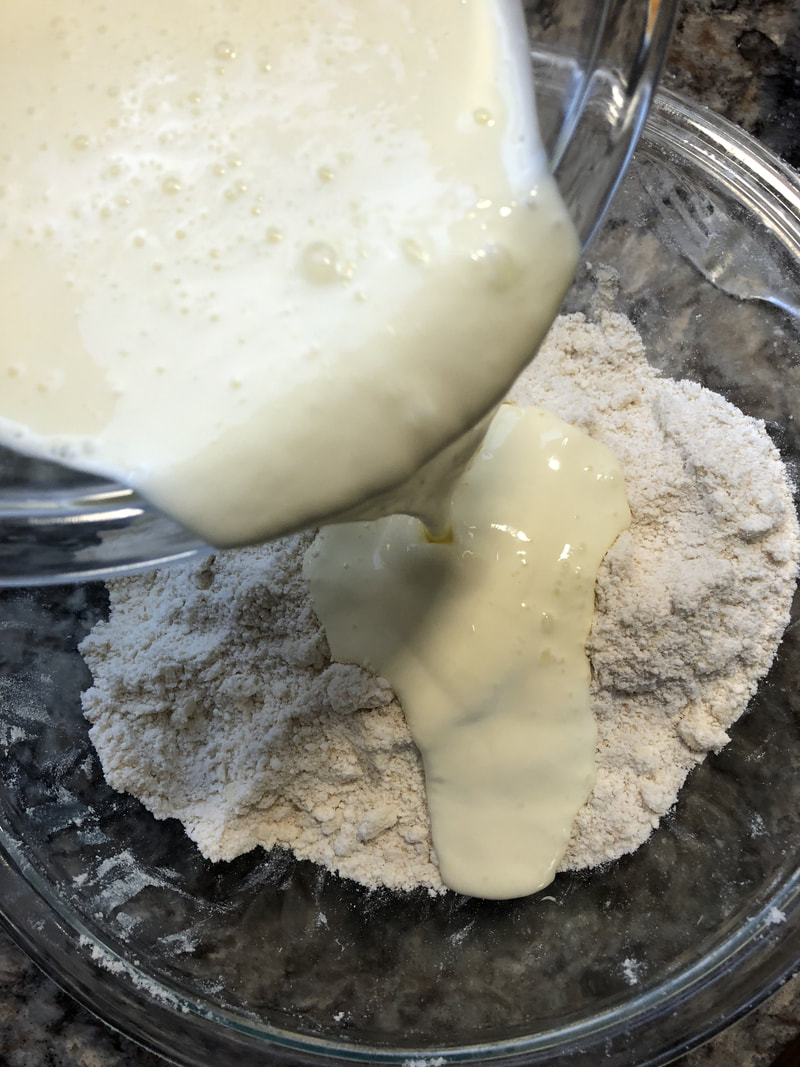 Add the cream mixture to the flour/butter mixture and use a fork to stir everything together until just moistened. Add the peaches and pecans and fold it in being carefully not to break the peaches up. 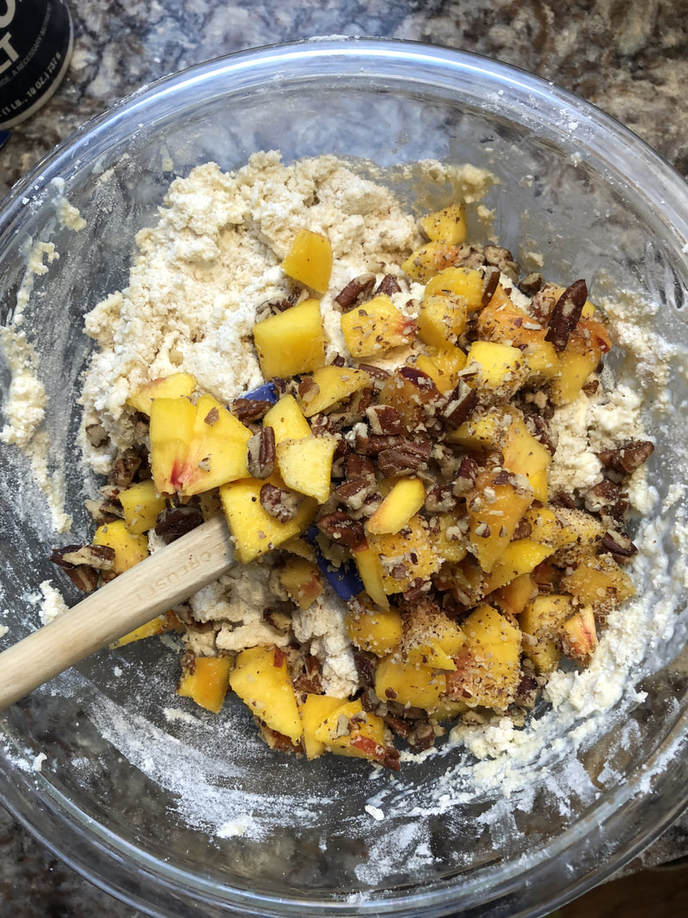 Dump the dough out on a clean counter and kneed it lightly, Try to do it quickly so the heat from your hands does not warm the butter up to much. If the dough is becoming really sticky place back in the bowl and place in the refrigerator or freezer for a few mins to firm up some. 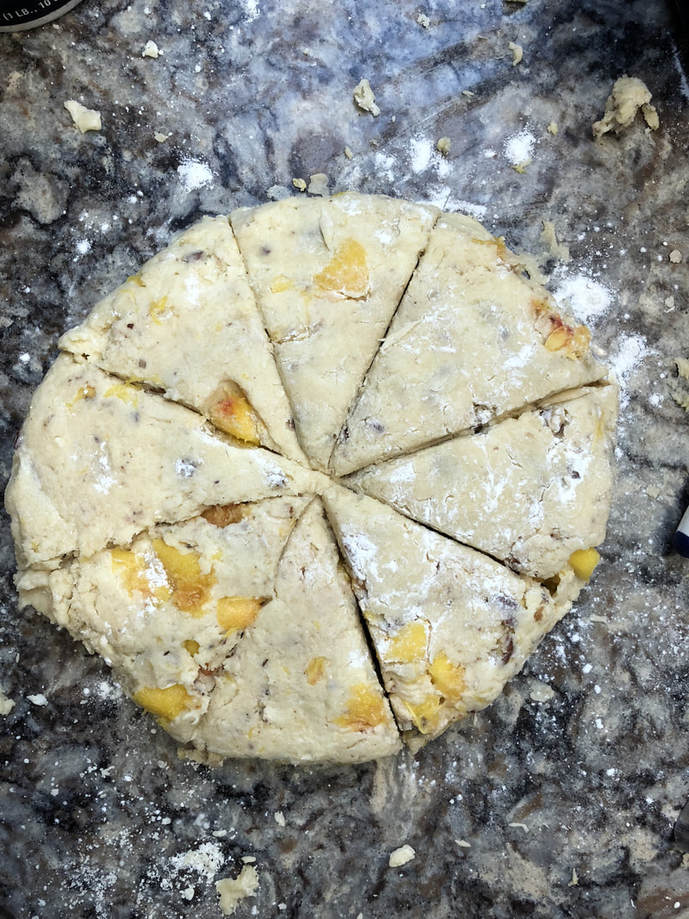 Slice the scones into 8 equal slices and place on a prepared sheet pan an bake at 400F for about 18-20 minutes. 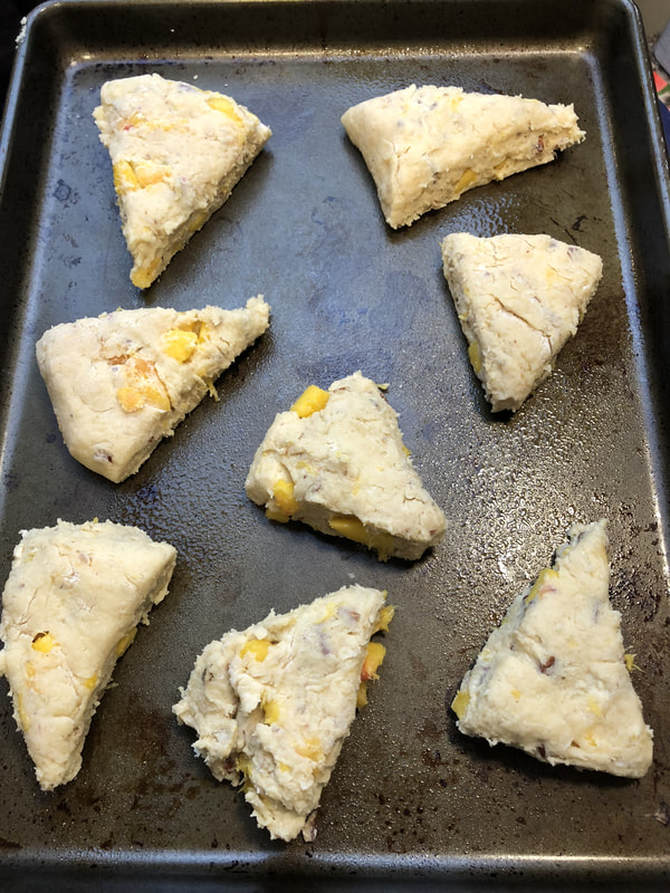 Allow scones to cool for 10 minutes. While waiting in a small bowl whisk together the heavy cream, confectioners’ sugar and lemon juice. Drizzle the glaze over the warm scones and enjoy while they are still warm. They will last three days in air tight container.  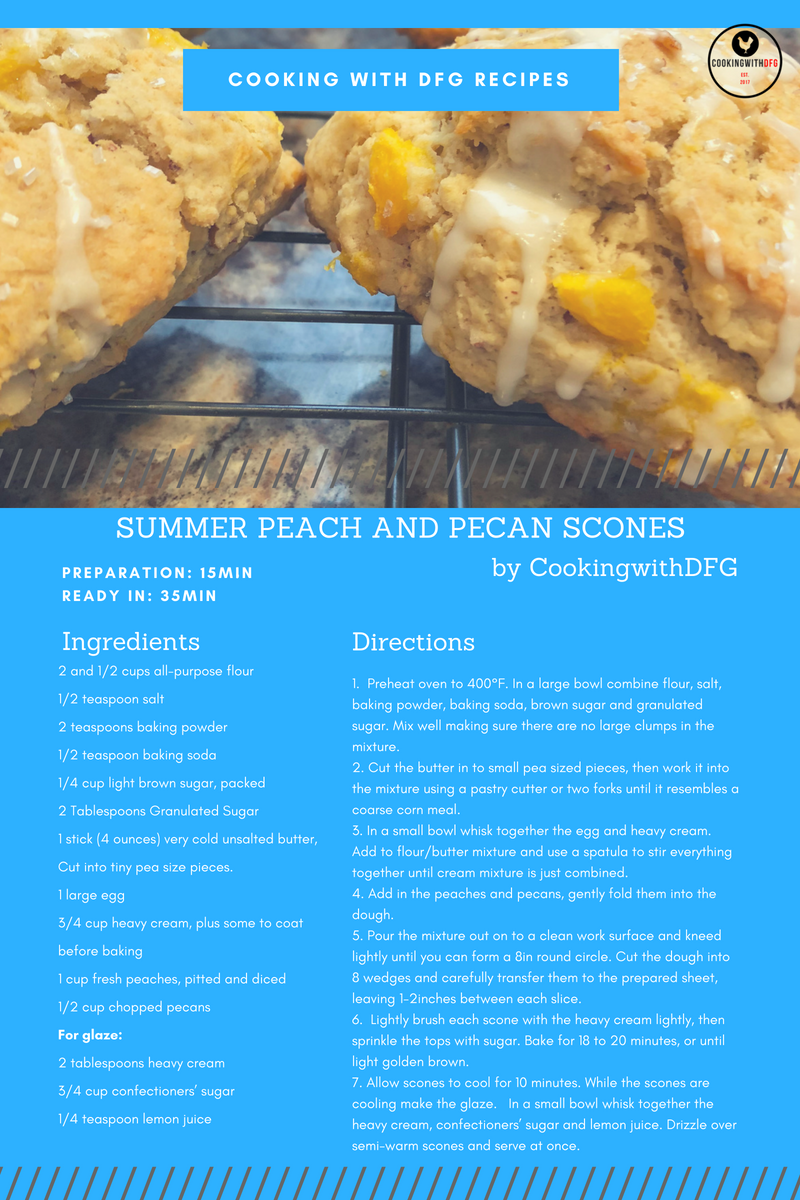 
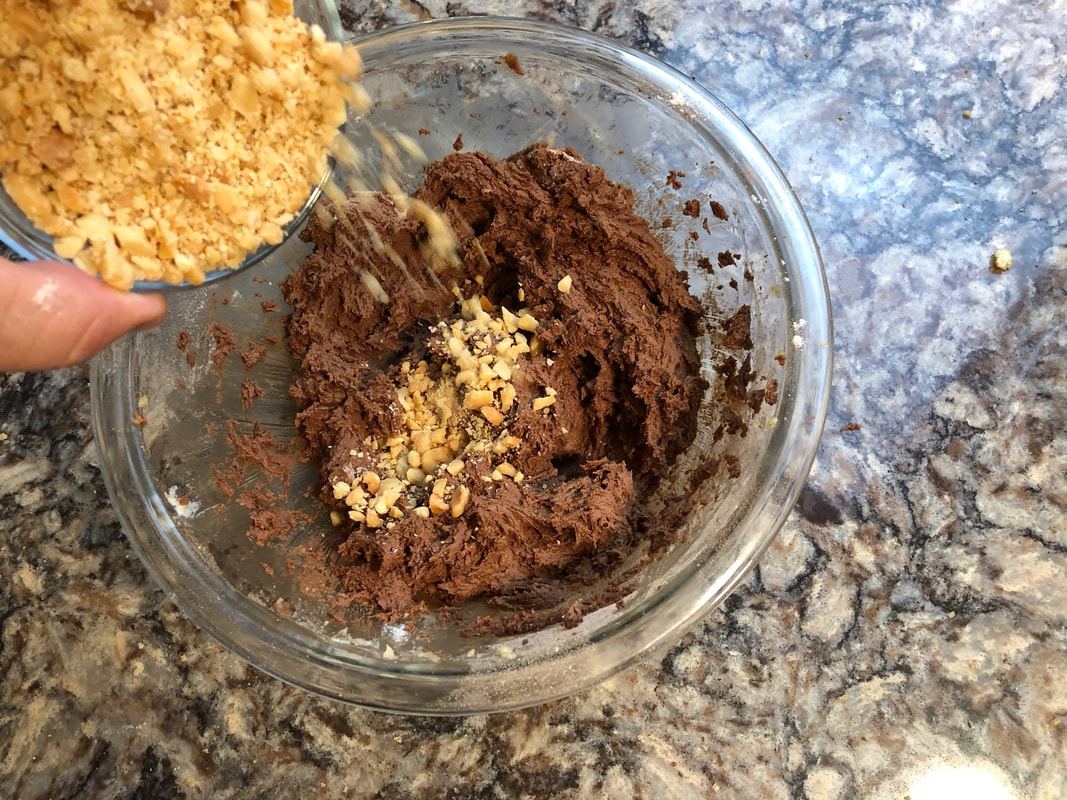
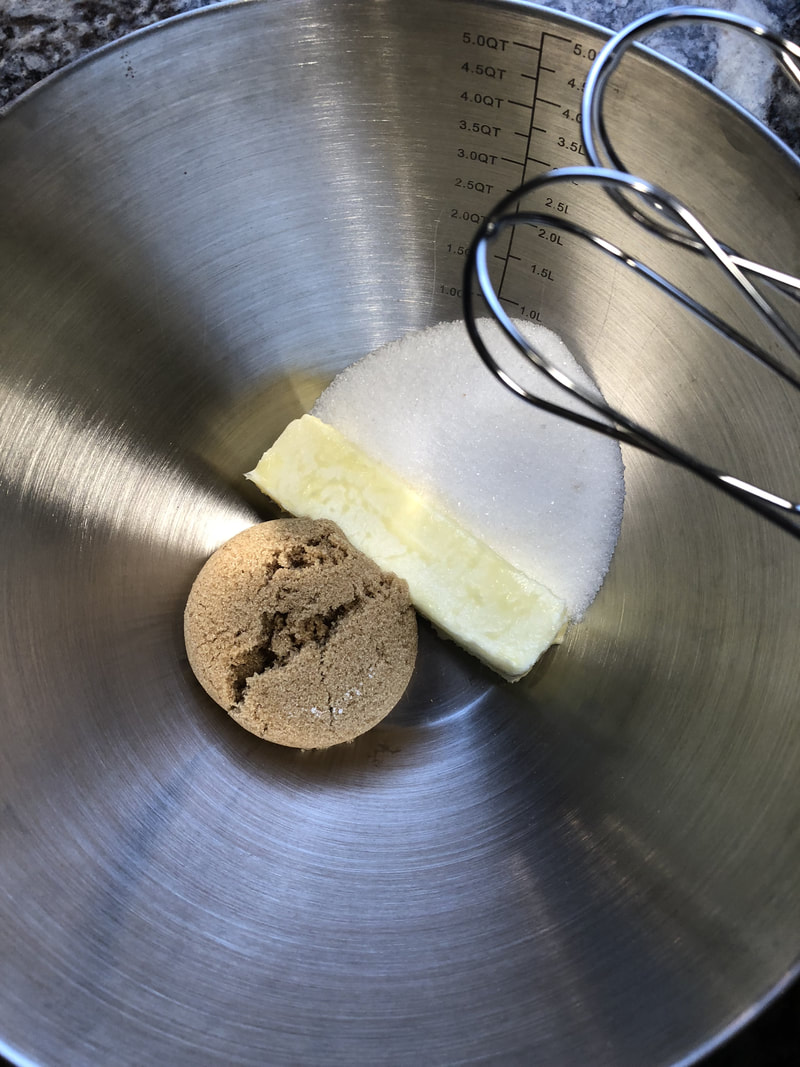
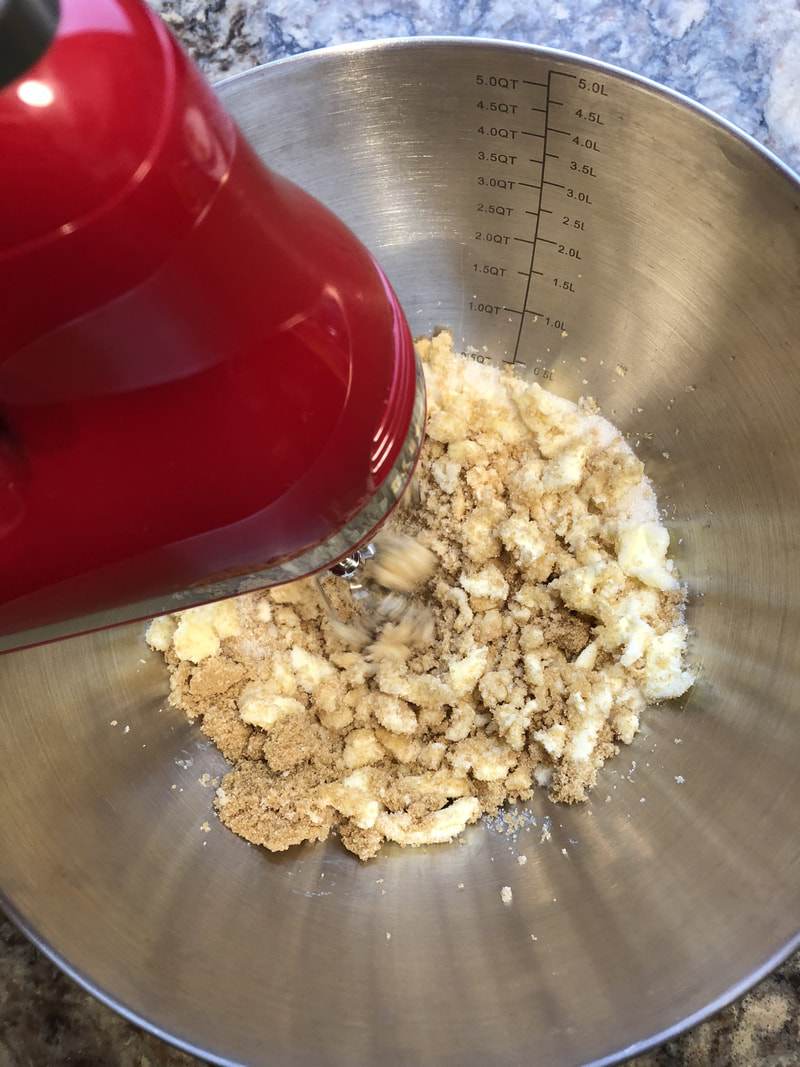
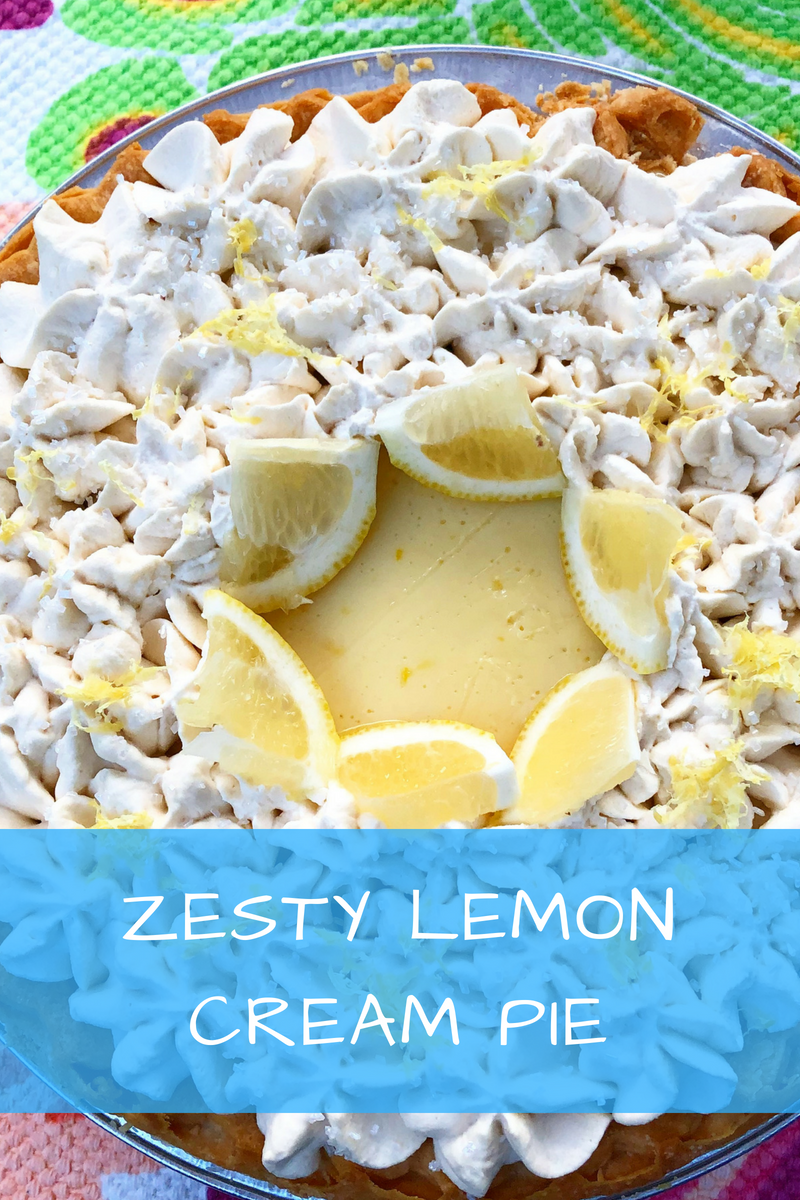 When I think about the summer I think of barbecues with friends and the most refreshing beverage is a tall glass of ice cold lemonade. This pie is like that lemonade!! This lemon pie is similar to a classic key lime pie, but it’s made with fresh lemon juice and zest instead with a perfect balance of sweet and tart. Since this pie needs to be refrigerated for several hours, it’s a perfect dessert that you can make ahead of time, even a day ahead! 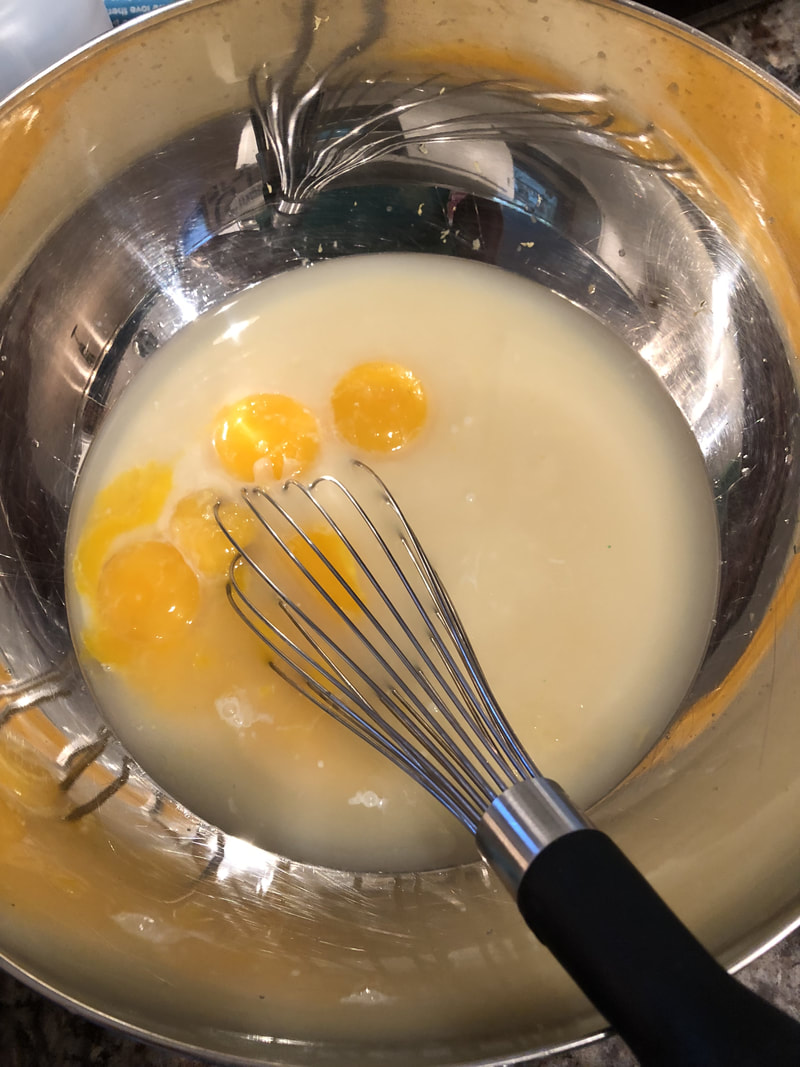 The first thing you want to do is add the condensed milk, egg yolks, lemon zest and vanilla extract in a large bowl and whisk until well combined. Add the lemon juice and mix until it thickens, a bout 2-3 minutes. I find using fresh lemon juice will make a better pie, but prepackaged juice will still produce a high quality pie.  Once you pie crust is completely cool, add the pie fill and bake in a 350 degree oven for about 20mins until the filling is jiggly but almost set. remove and let cool to room temperature and refrigerate for 3-4 hours. 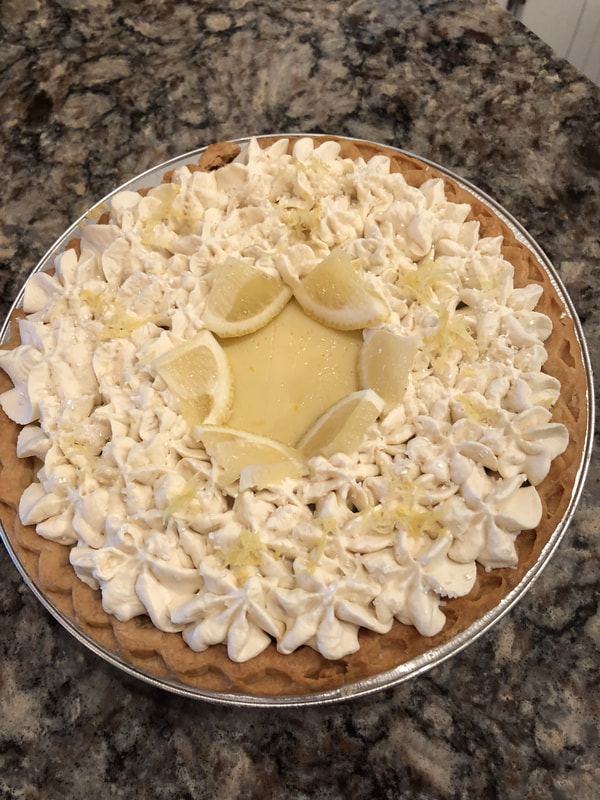 Once the pie has cooled completely in the refrigerator, whisk the beat heavy cream, powdered sugar and vanilla on high speed until fluffy, stiff texture is reached (stiff peaks). Top the pie with the whipped cream and garnish with lemon zest and lemon slices to your desire and serve the pie. the pie can be kept up to 3-4 days covered air tight if it not totally eaten by then! 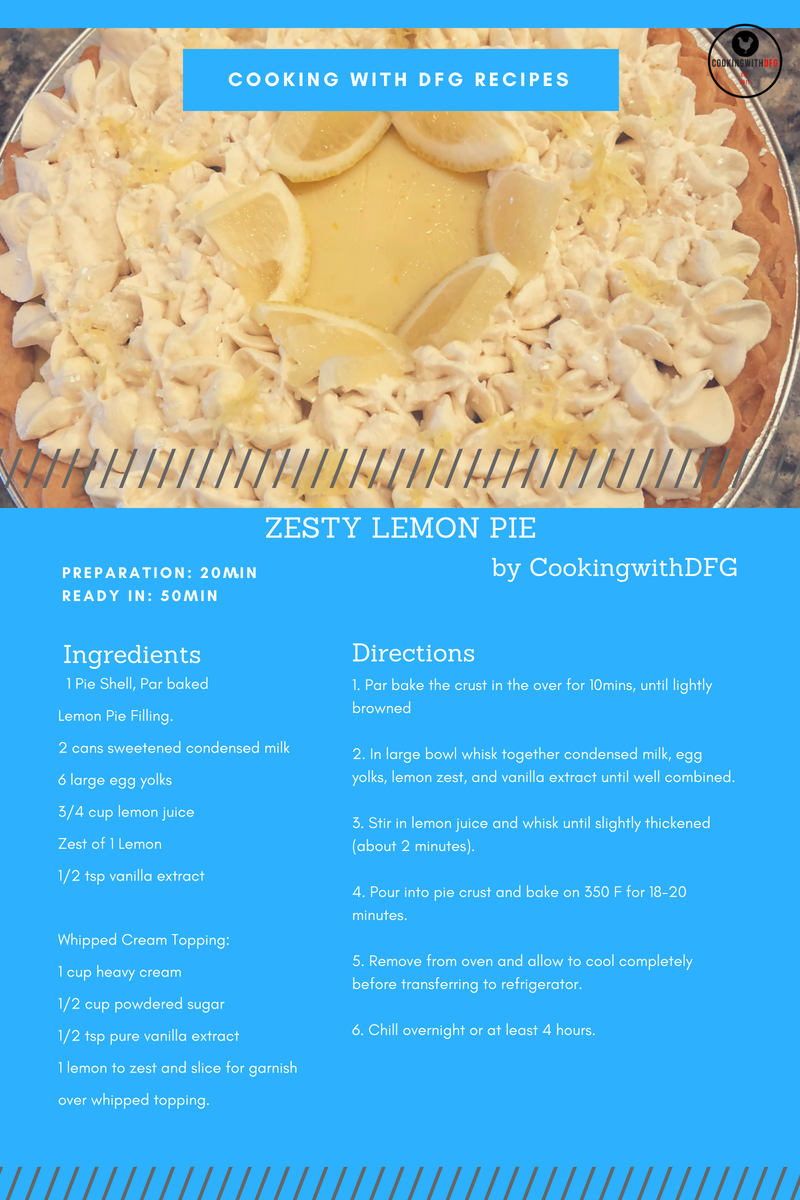   A nice change from the usual pasta and potato based picnic salads is this delicious chilled asian wild rice salad. this a great recipe to use up leftover rice from your dinner you might have and it has majority ingredients that most homes have already in the pantry. I has a a great balance the the soy sauce and brown sugar build off each other. This recipe increases the flavor the colder the salad gets so i recommend at least 3 hours in the refrigerator before serving. 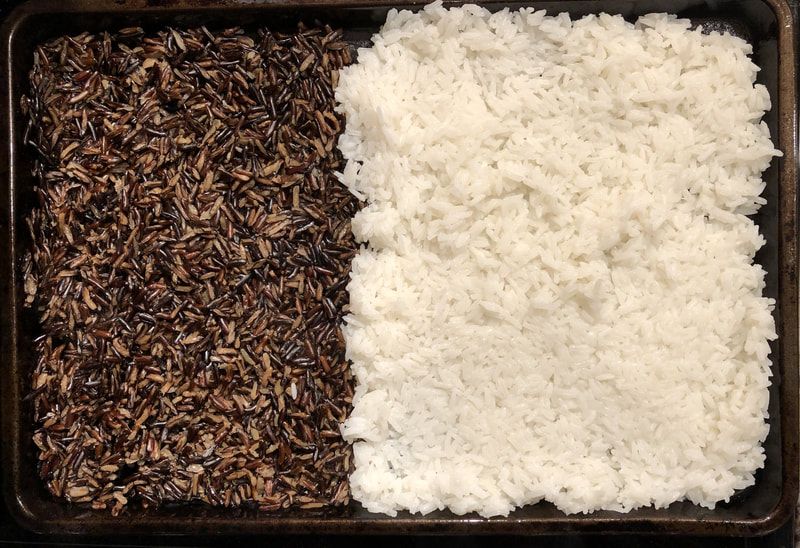 The first thing is to cook the rice according to the packaging. you are wanting to have about 2 cups of cooked rice for each rice for this recipe. I have found if you are in a huge time crunch with both the cooking and refrigerating time, you can use those single serve packaging of cooked rice and the recipe does actually turn out pretty well also. 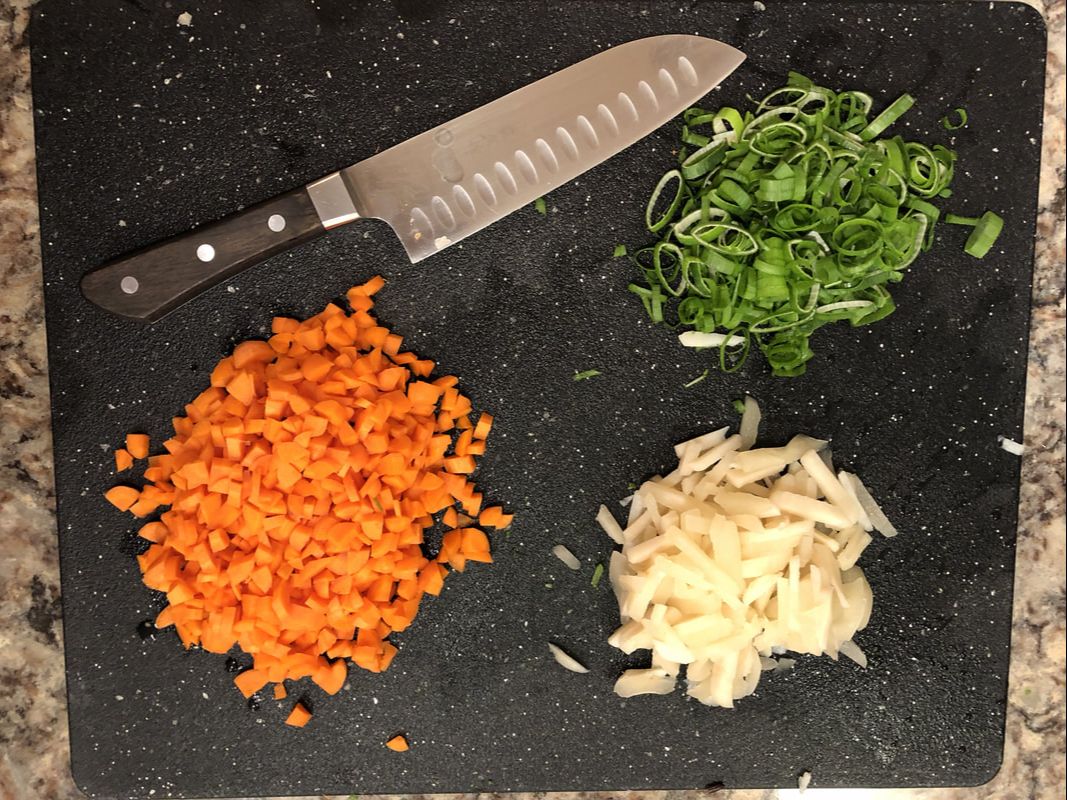 The next thing is you want to cut all of the ingredients that will be going into the salad. I like to cut everything a little different just got different textures for the whole mouth feel. I like to keep it simple with the carrots, water chestnuts and green onions, you can for sure change and add more to the salad. 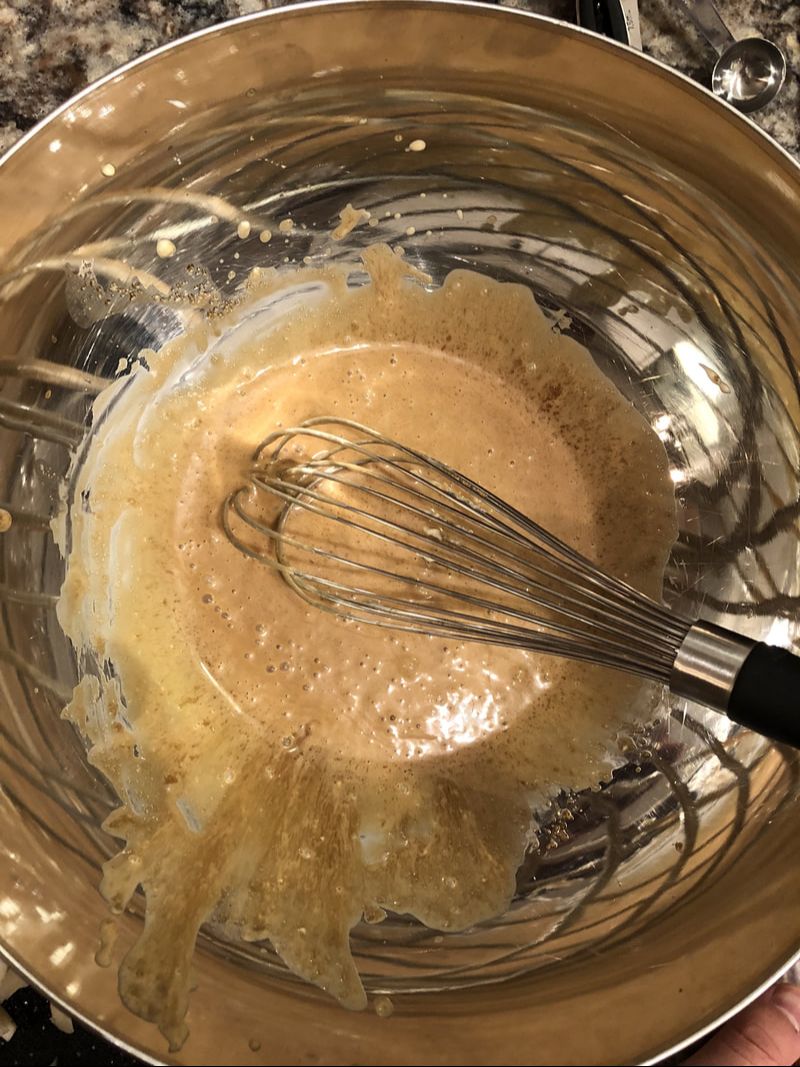 Add the mayonnaise, brown sugar, soy sauce and the ground ginger in a large bowl. Mix until you get a smooth dressing for the salad. 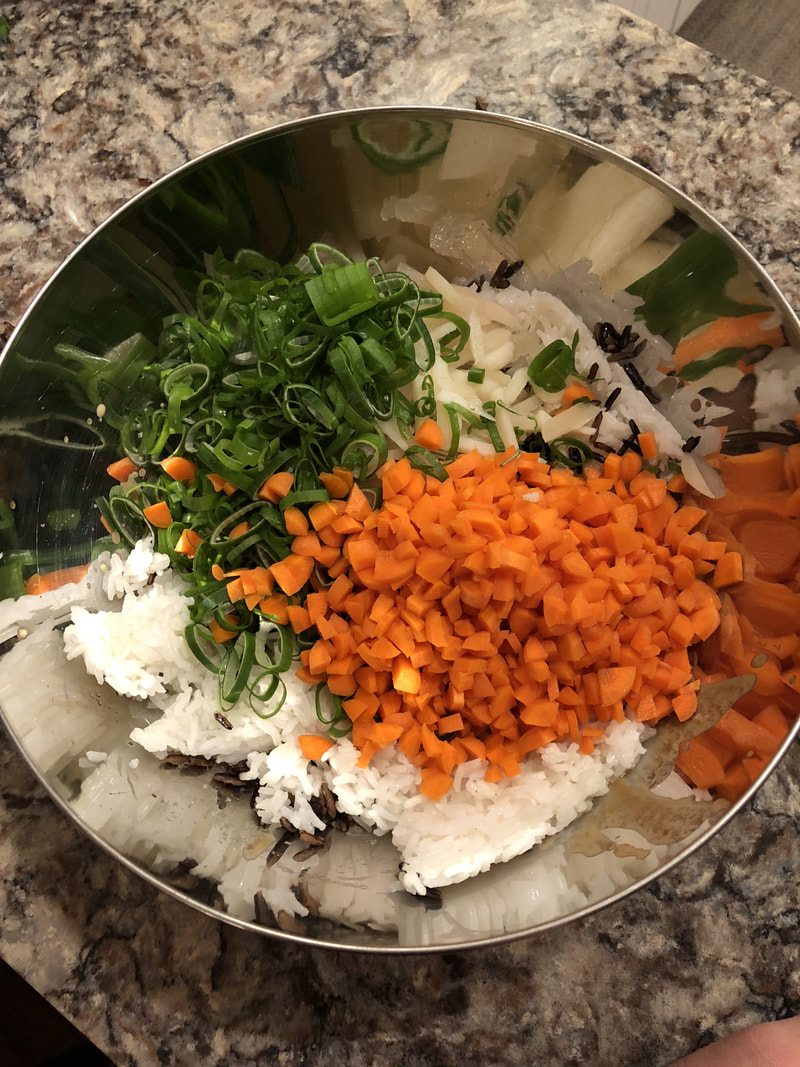 Add the cooled rices and vegetables to the large bowl and mix until all of the rice is coated and refrigerate the salad for about 3 hours for full flavor. 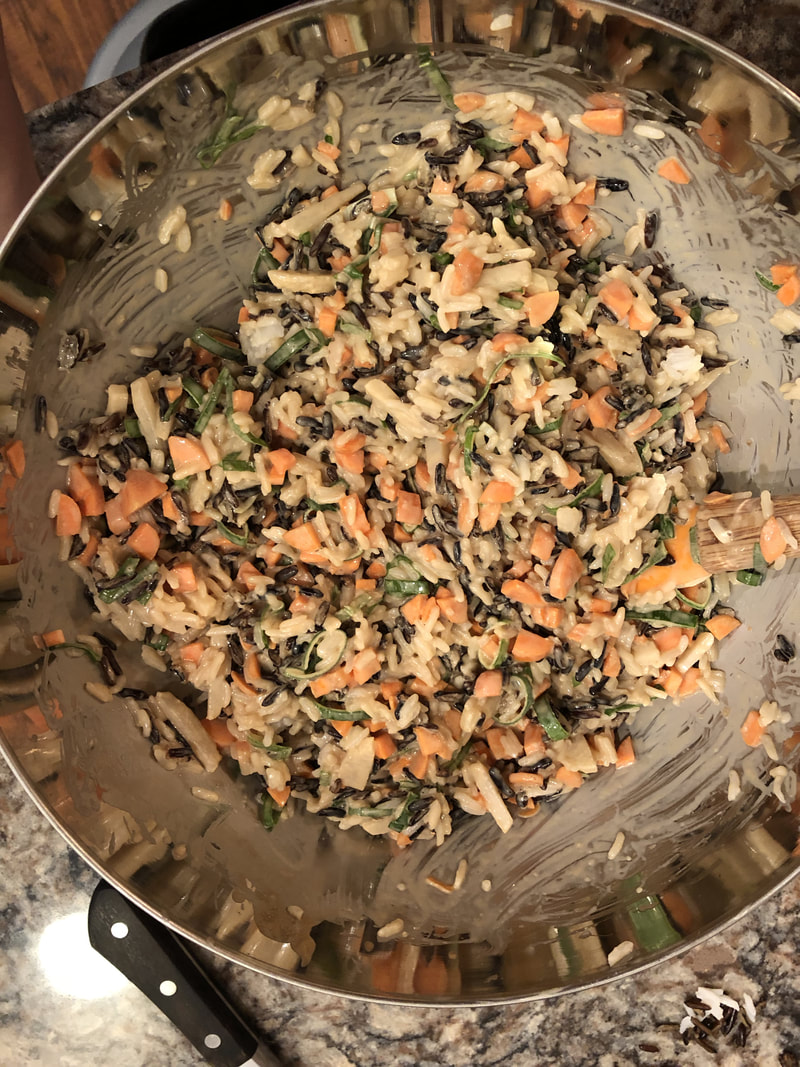 Check the flavor before serving and salt if needed, a lot of different soy sauces have different sodium contents so the salt content in the salt will vary quite a bit. 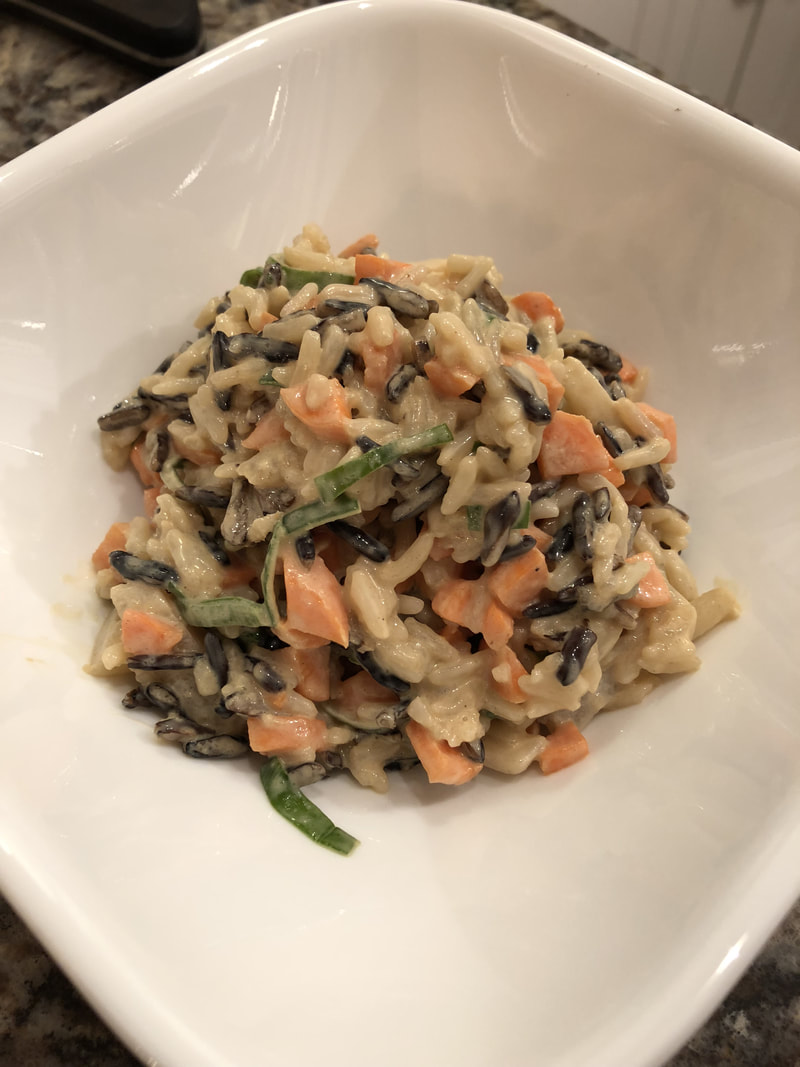 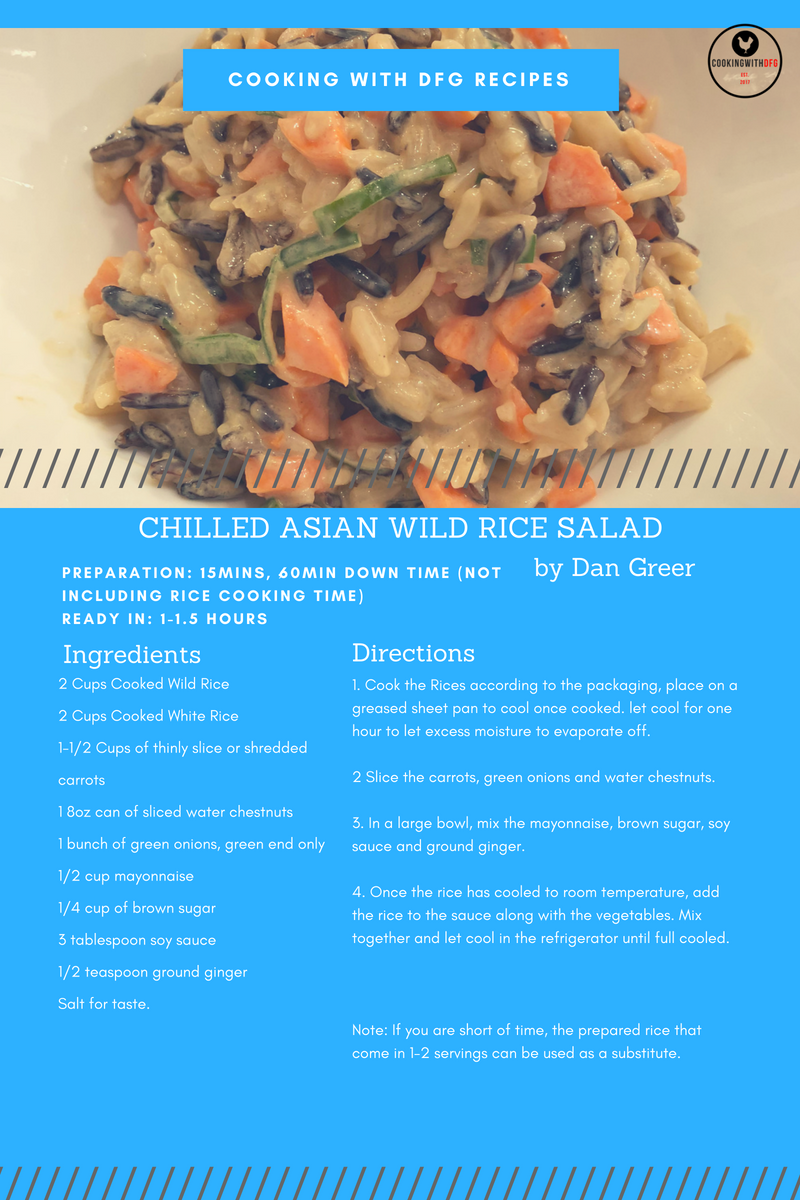   These double chocolate macadamia cookies super soft and chewy like a brownie, but they’re jam-packed with chocolate chips and macadamia nuts. With the chopped macadamia nuts each and every bit will have a piece in it, which is exactly how these cookie should be if you ask me. Plus, they bake up beautifully every single time! 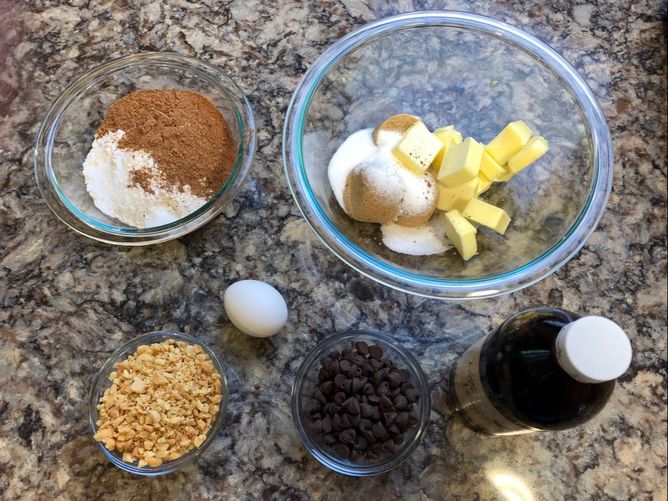 First off, I like to get all of my ingredients together and ready . I add the butter to the sugars and get all of the dry ingredients in a bowl. It will make it easier when you start so you don't have to stop and measure anything. 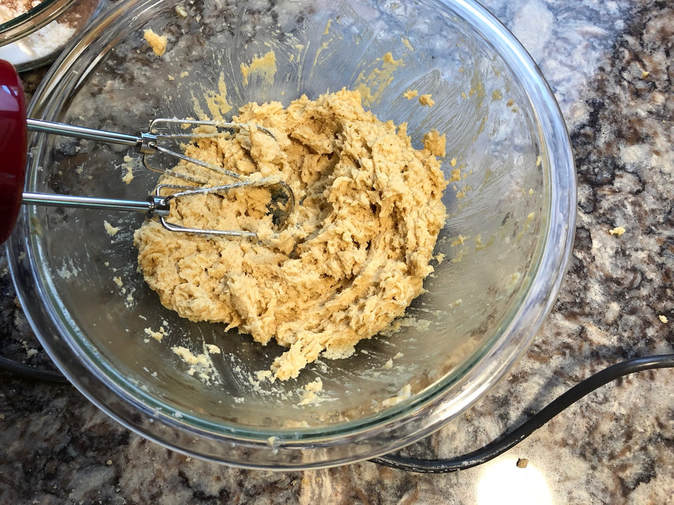 Start by creaming the butter with the sugars until the butter and sugar combine smooth. Add the egg and vanilla extract and mix smooth. 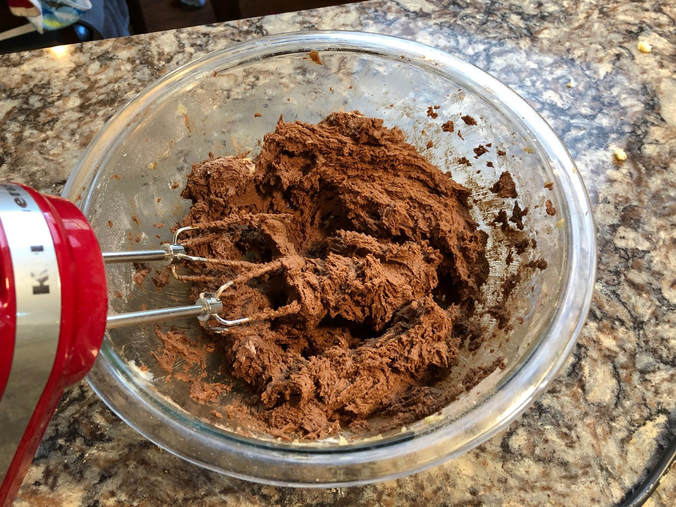 Add the dry ingredients in slowly, the batter will be thick, but all of flour mixture will incorporate in just fine.
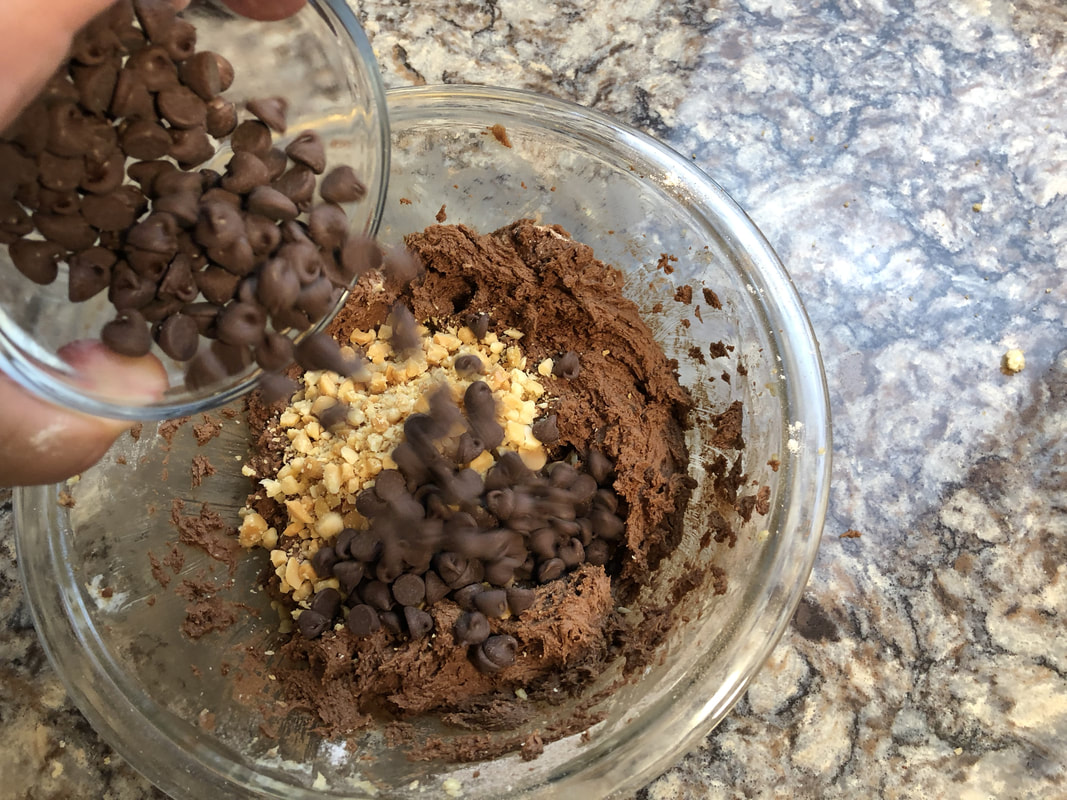
Stir in the chocolate chips and macadamia nuts. Once mix in completely, with a 1-1/2tablespoon ice cream scoop, place the cookie balls 2 inches apart on a baking sheet lined with parchment paper or a silicon baking mat. Cover with cling film and chill in the refrigerator for at least 2 hours or up to 48.  When ready to bake, preheat the oven to 350F degrees. Bake cookies for 10-12 minutes until the tops are just set. Remove from oven and let cool on their tray for 5 minutes before transferring to a wire rack to continue cooling.  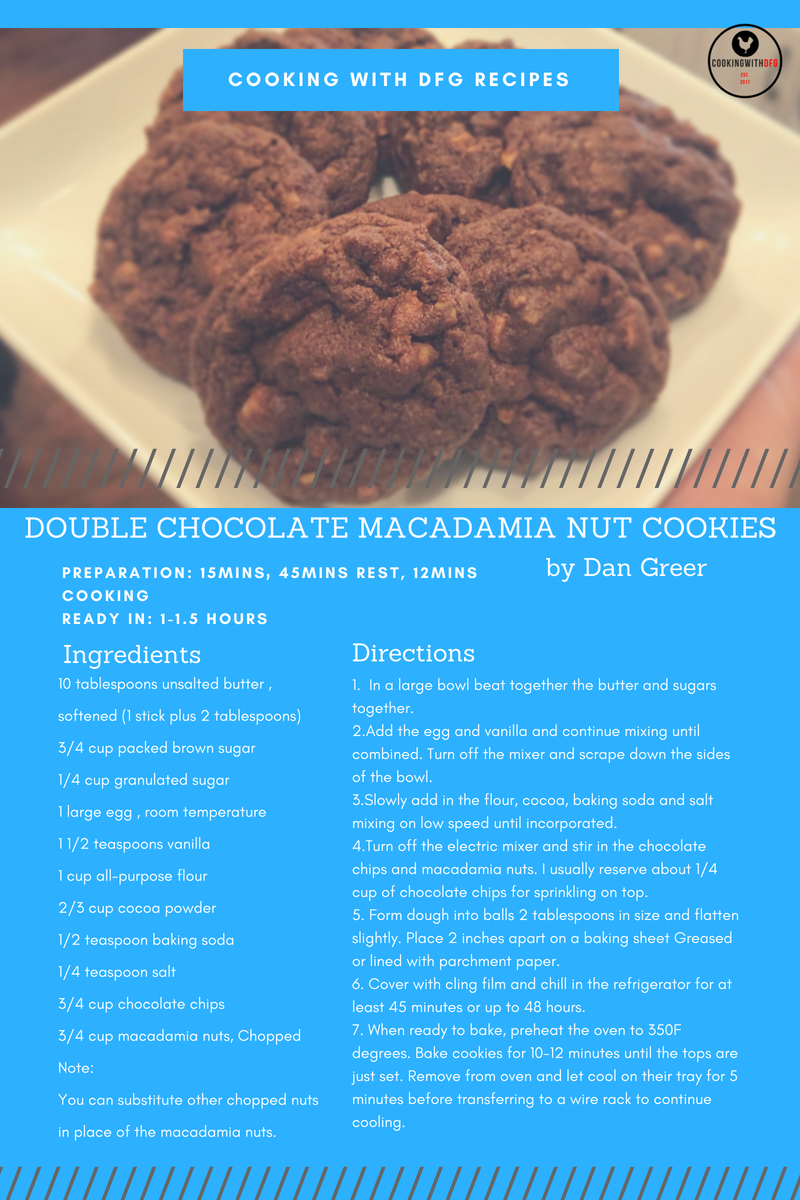  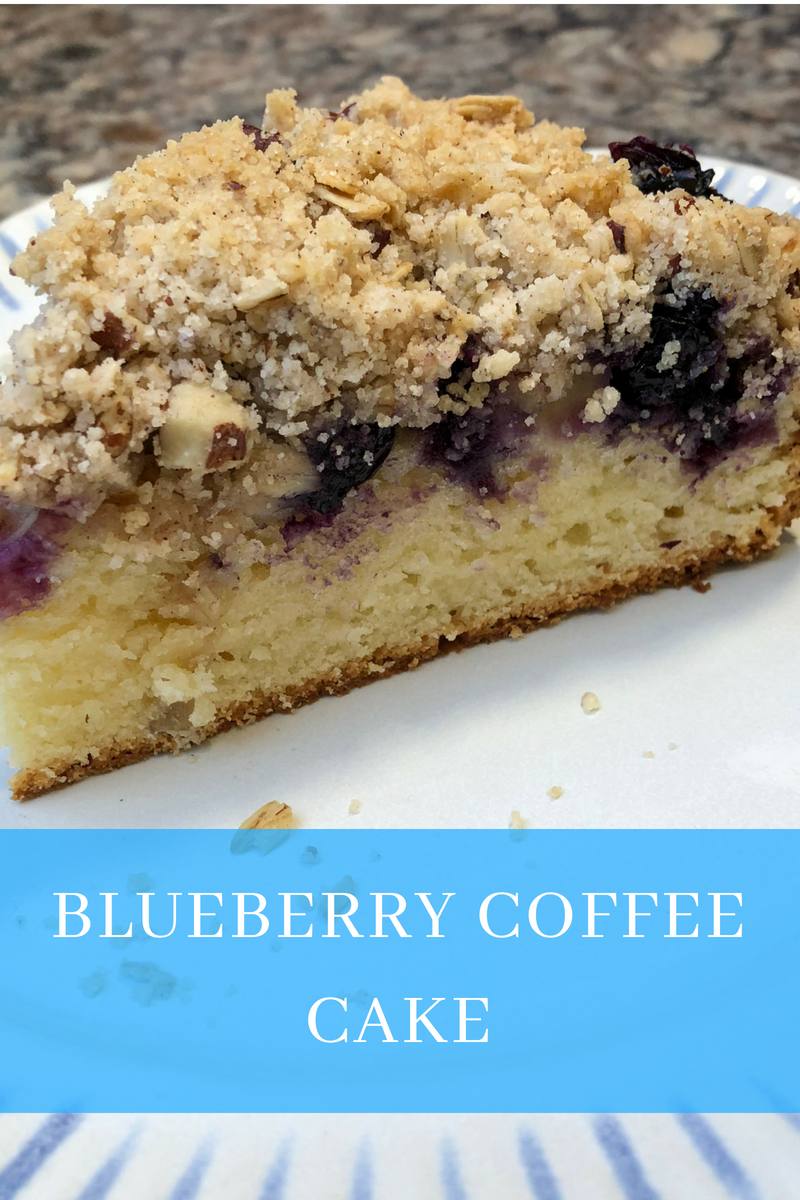 This blueberry coffee cake is moist and buttery with a great crunchy topping that makes this a great breakfast or dessert that is quick to prepare and your family will love and tastes better a day or two later only if it will last that long. Please share this and make for your family, they will love it!! 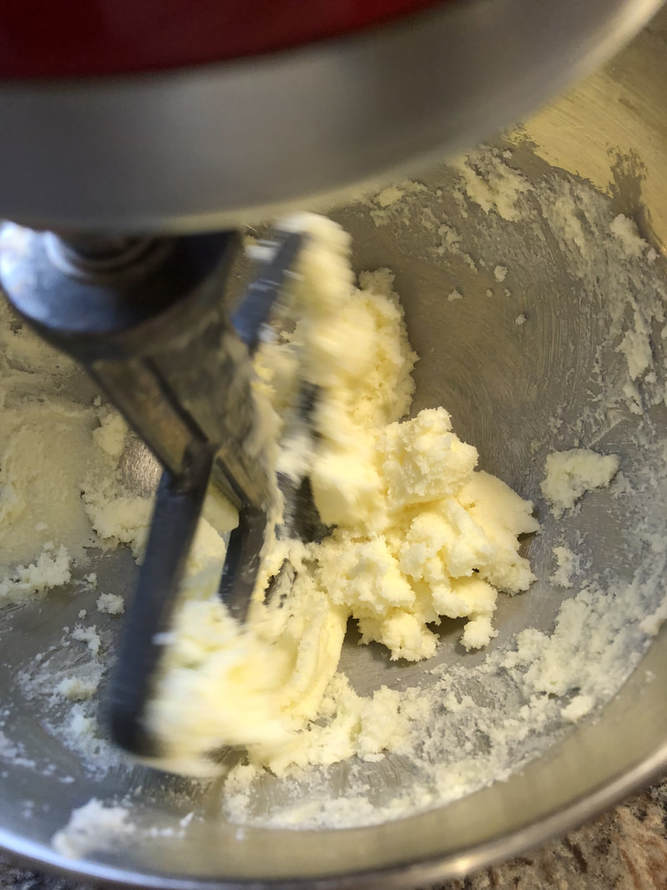 Start by adding the butter and sugar in a bowl of a stand mixer fitted with the paddle attachment. Start to cream butter and sugar together until light and fluffy, about 5 minutes and is about doubled in volume. 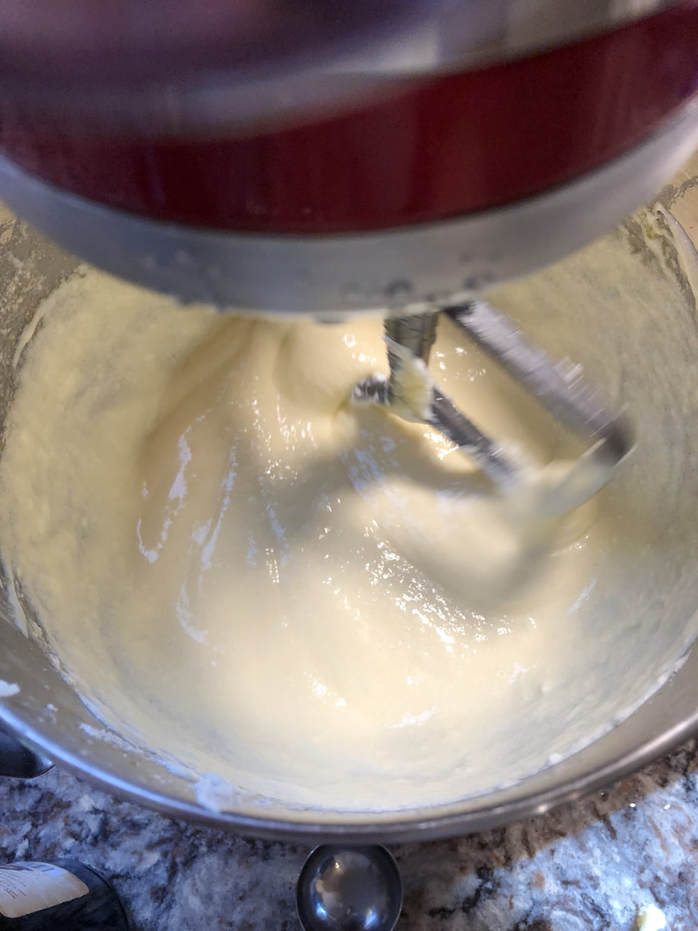 Add the eggs, sour cream, lemon juice and vanilla extract and mix until combined. 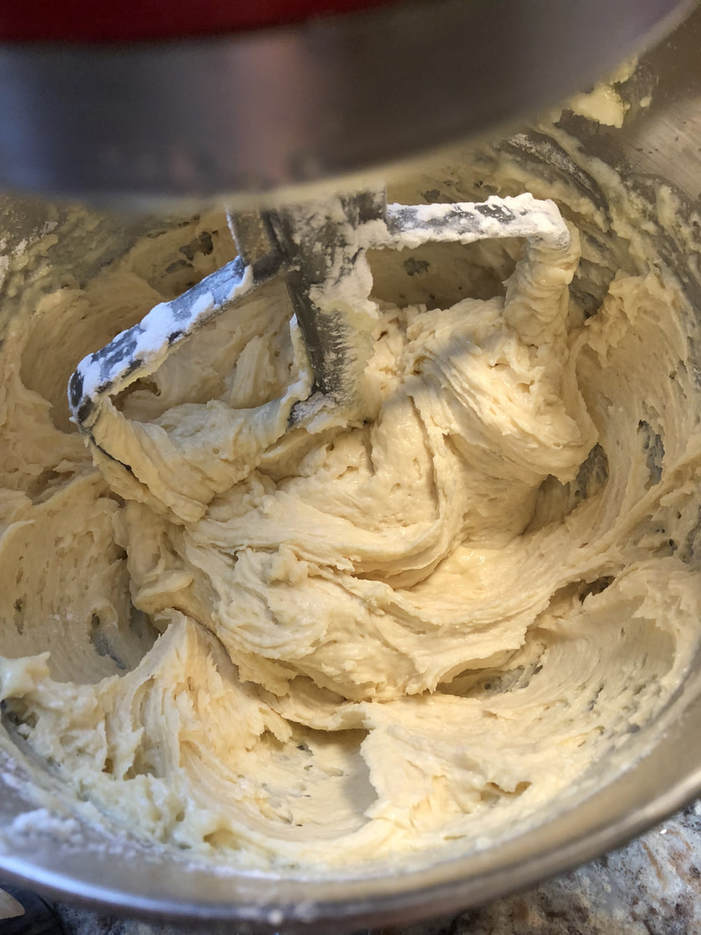 With the mixer running on low speed, add the flour, baking powder, baking soda and salt to the batter and mix until just combined. The batter will be thick! add to the well prepared spring form pan and spread over evenly. Add the blueberry evenly over the batter evenly. 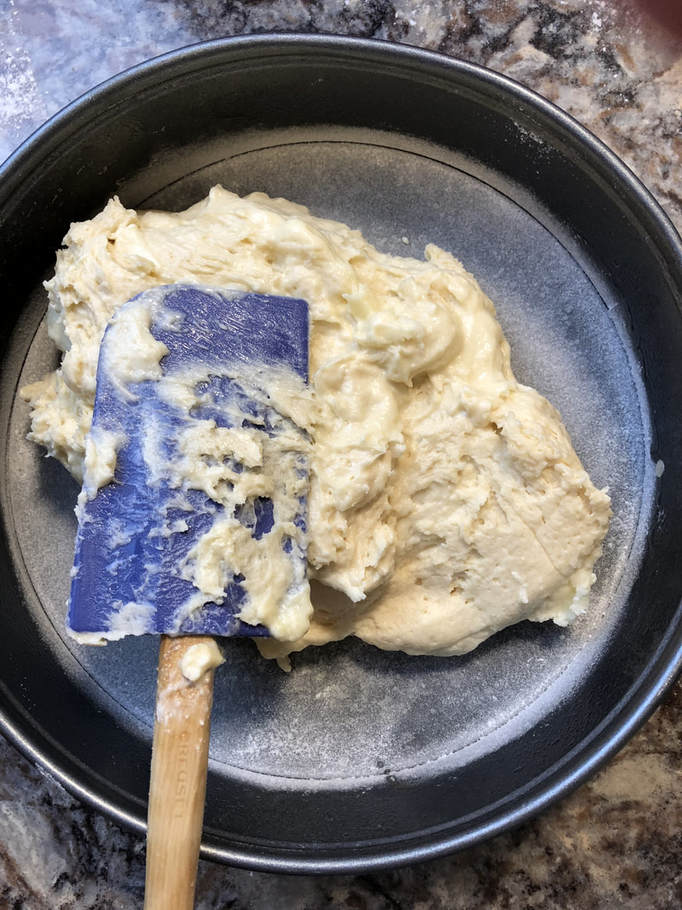 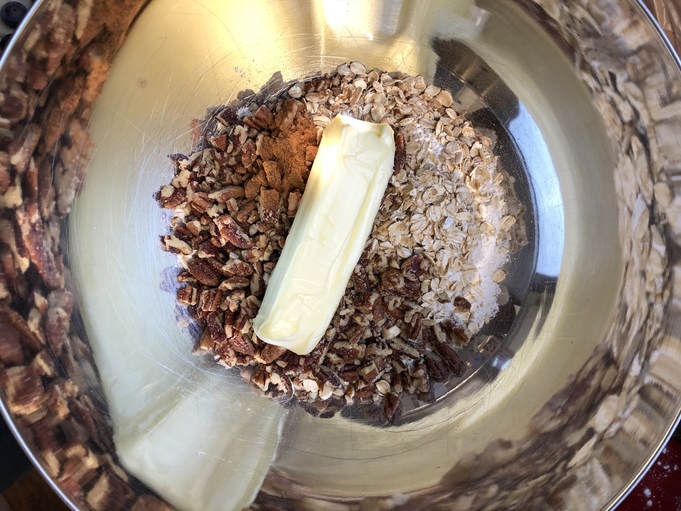 For the crumble topping, combine flour, sugar, chopped pecans, oatmeal, cinnamon and butter in the bowl of a stand mixer or if you feel like a kid like me, mix with your hands. Mix for about 2 minutes until all the flour is incorporated. Spread the streusel evenly over the blueberries with your hands. Bake in a 350 degree oven for 50-60minutes or until the wooden toothpick or skewer comes out clean. Let cool for 15 minutes then remove the outer ring off the pan and let cool completely. After that cut yourself a piece before your family comes and eats it all. Recipe is below and please share and let me know if you make it. 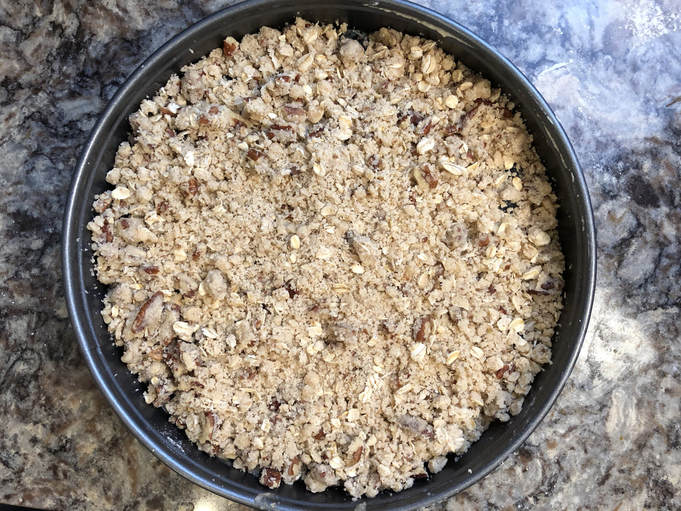 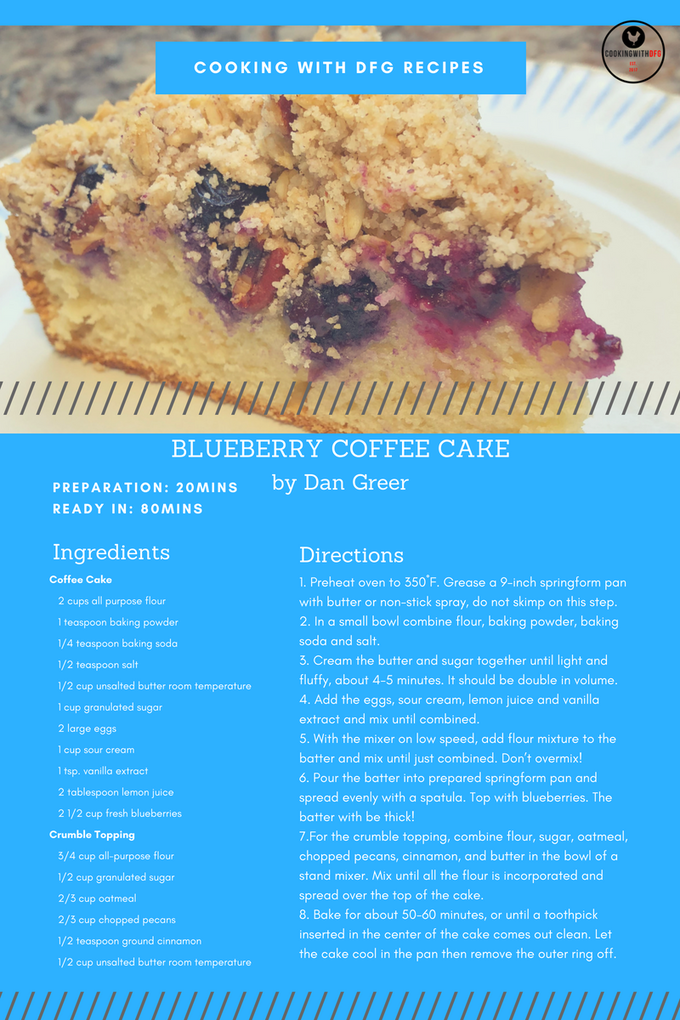  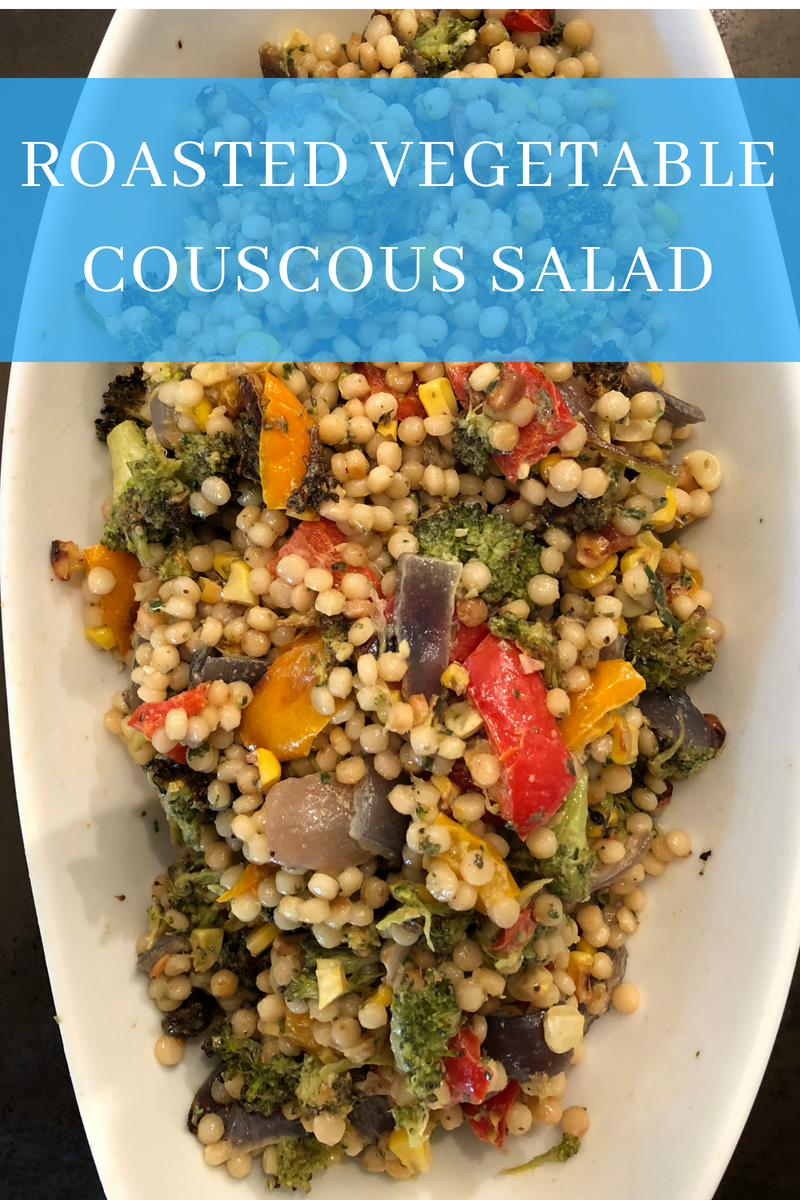 Israeli Couscous is an ingredient that is commonly mistaken as a grain, but it is actually a type of pasta as it is made with wheat. Unlike normal pasta salad that will keep soaking up liquid until the pasta noodles will just fall apart and the salad is unpleasant to look at and soggy mess, Israeli Couscous wont soak up any of the dressing and will keep the perfect Al dente texture. The flavors of the creamy pesto style dressing and the roasted vegetables make a great powerful flavor that will keep everyone coming back for more. Check out the recipe below and don't forget to share with your friends and family. 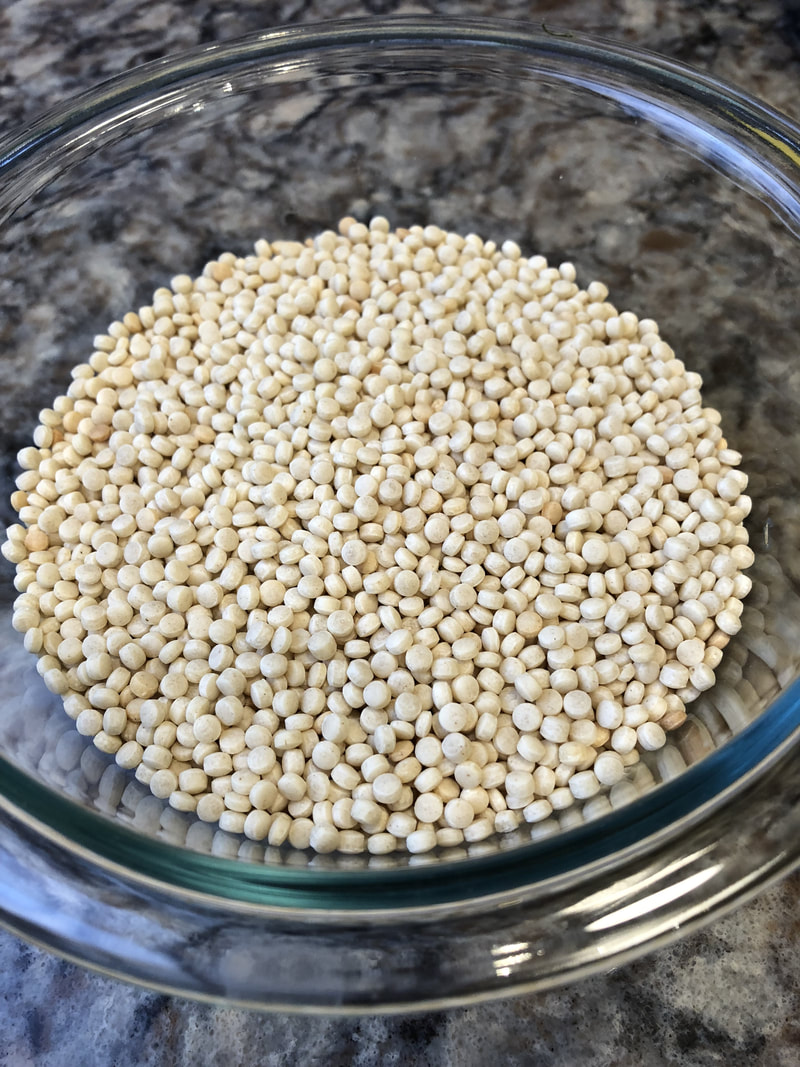 Israeli couscous can be found in about every grocery store in my area. Cook the Couscous in simmering water like the package directions state, drain and run under cold water to cool the pasta down quickly and let drain until everything else is ready. 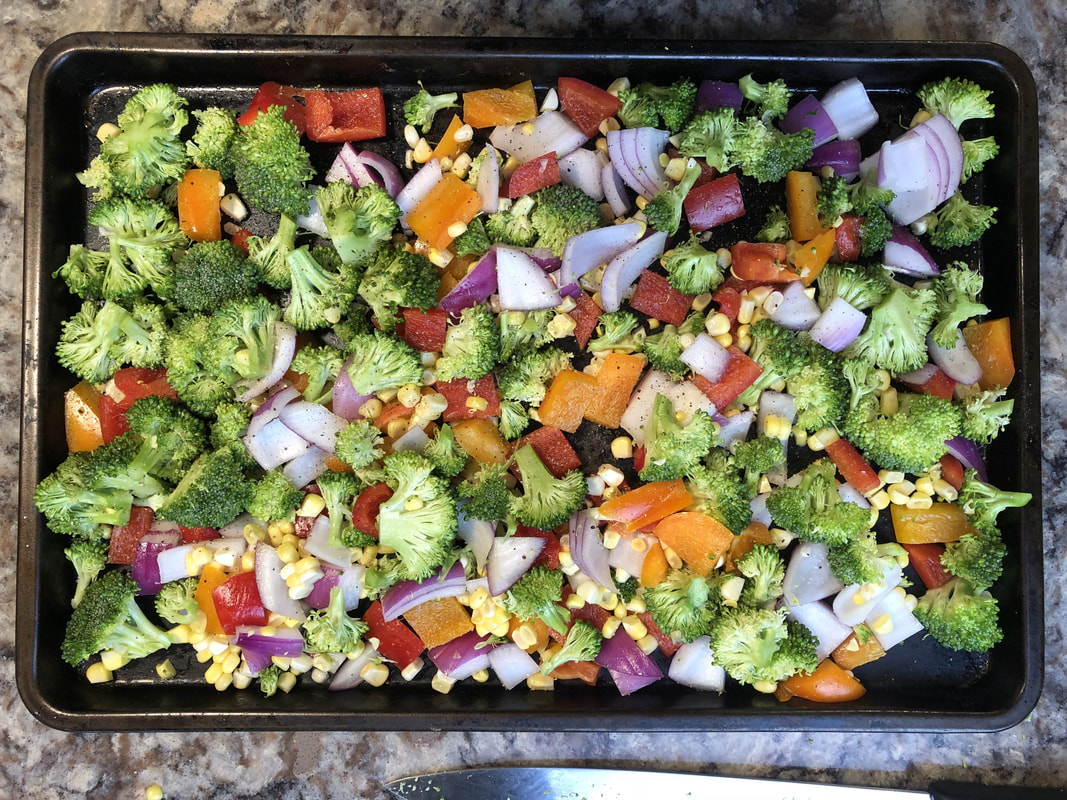 Cut all of the vegetables up into small bit size pieces and toss with oil and spread over a thin layer on oiled sheet pans. Bake in a 475 degree oven until everything is fully cooked and roasted. Make sure to stir half way through to make sure both sides get caramelized. 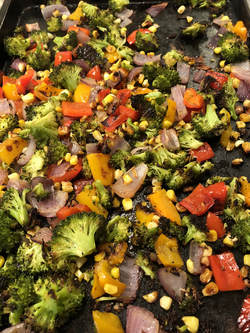 Add the basil, olive oil, garlic and mayonnaise to the food processor. Puree until everything is well combined and smooth. salt and pepper to taste. 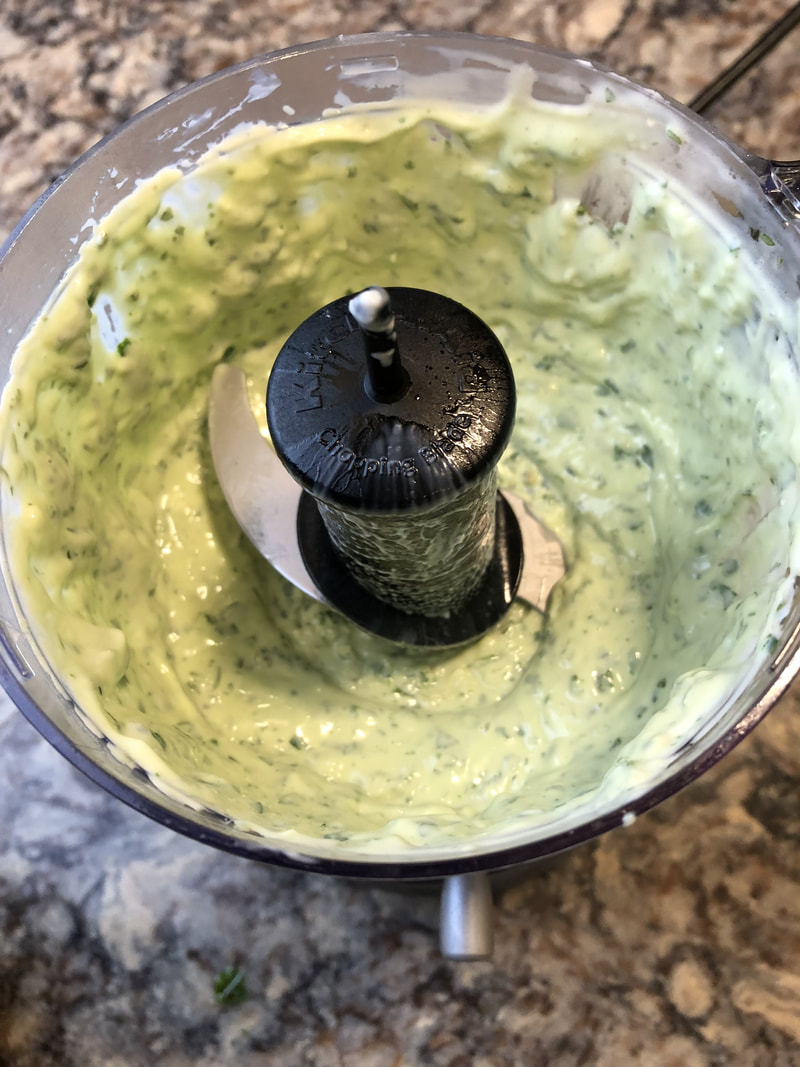 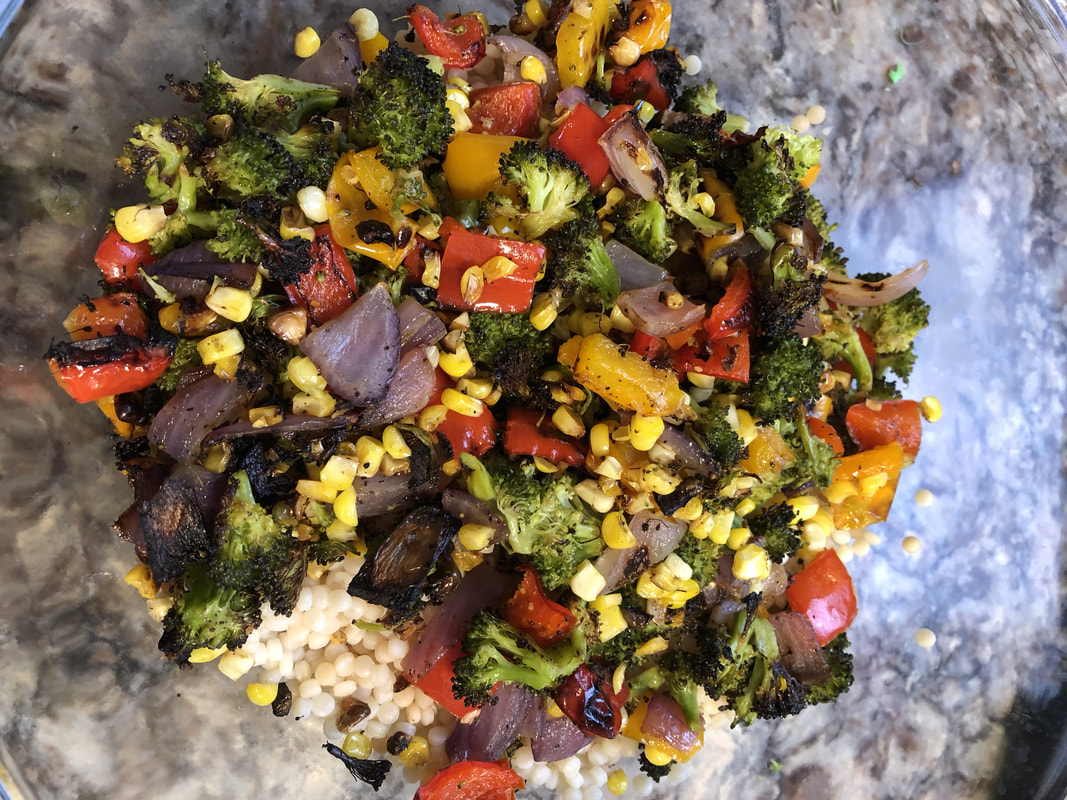 Add everything to a large bowl and mix until well combined. This salad can be made a few days a head of time without any issues, Just remix before serving. 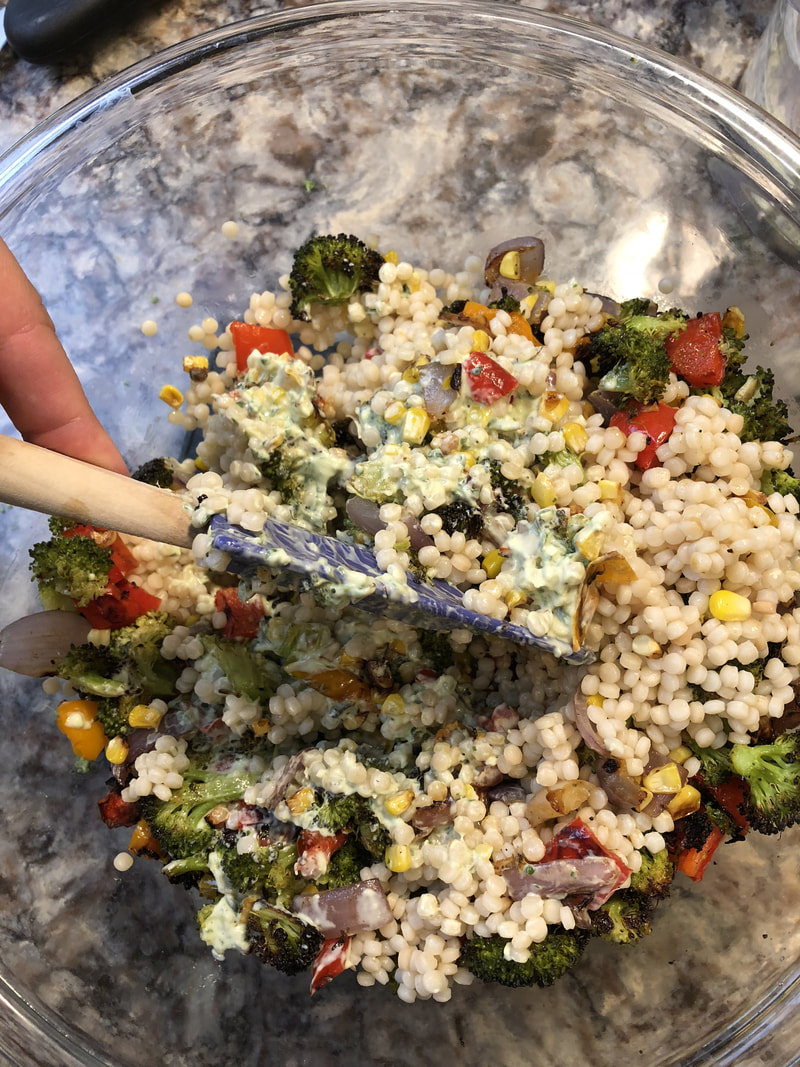 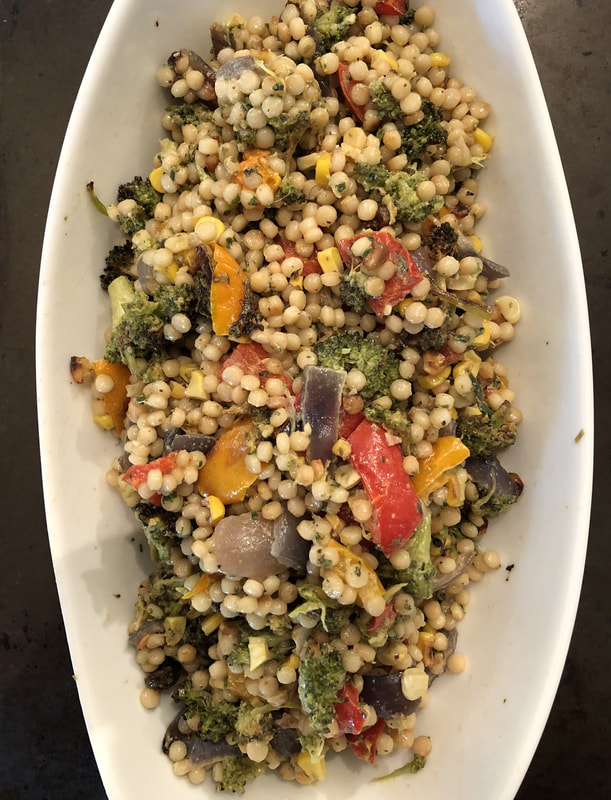 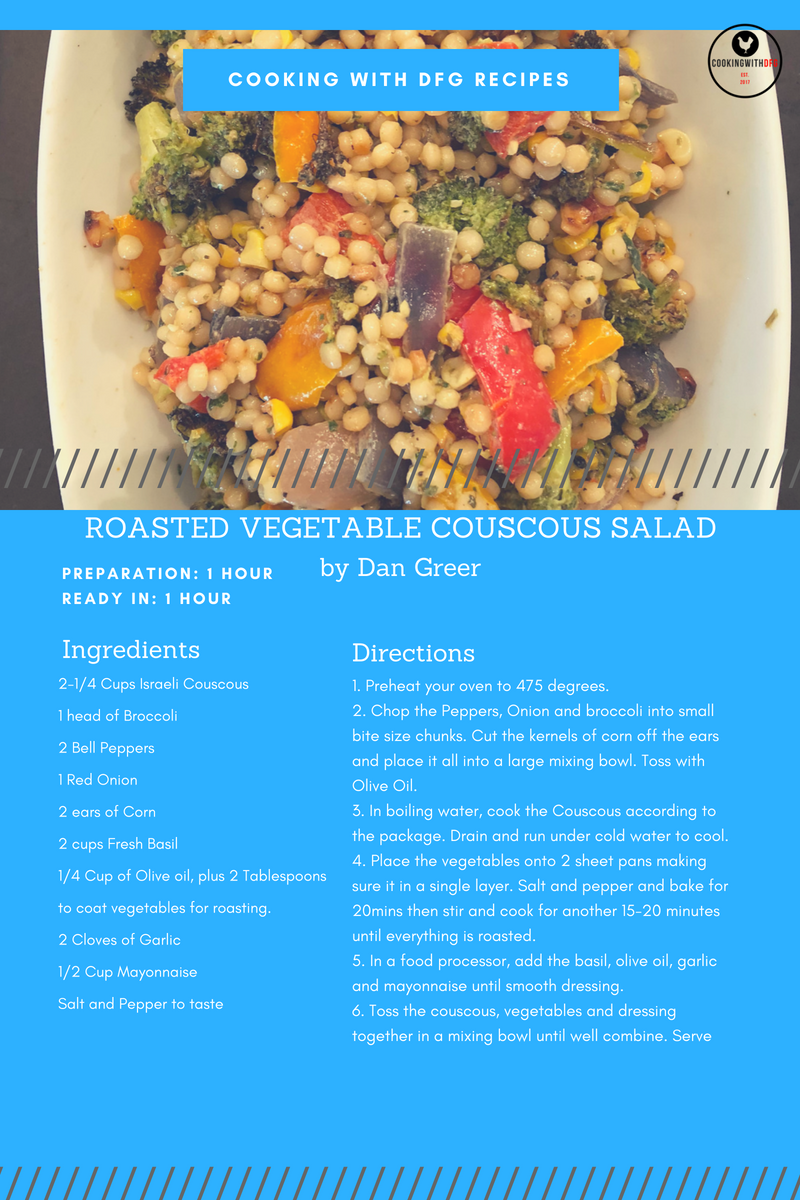  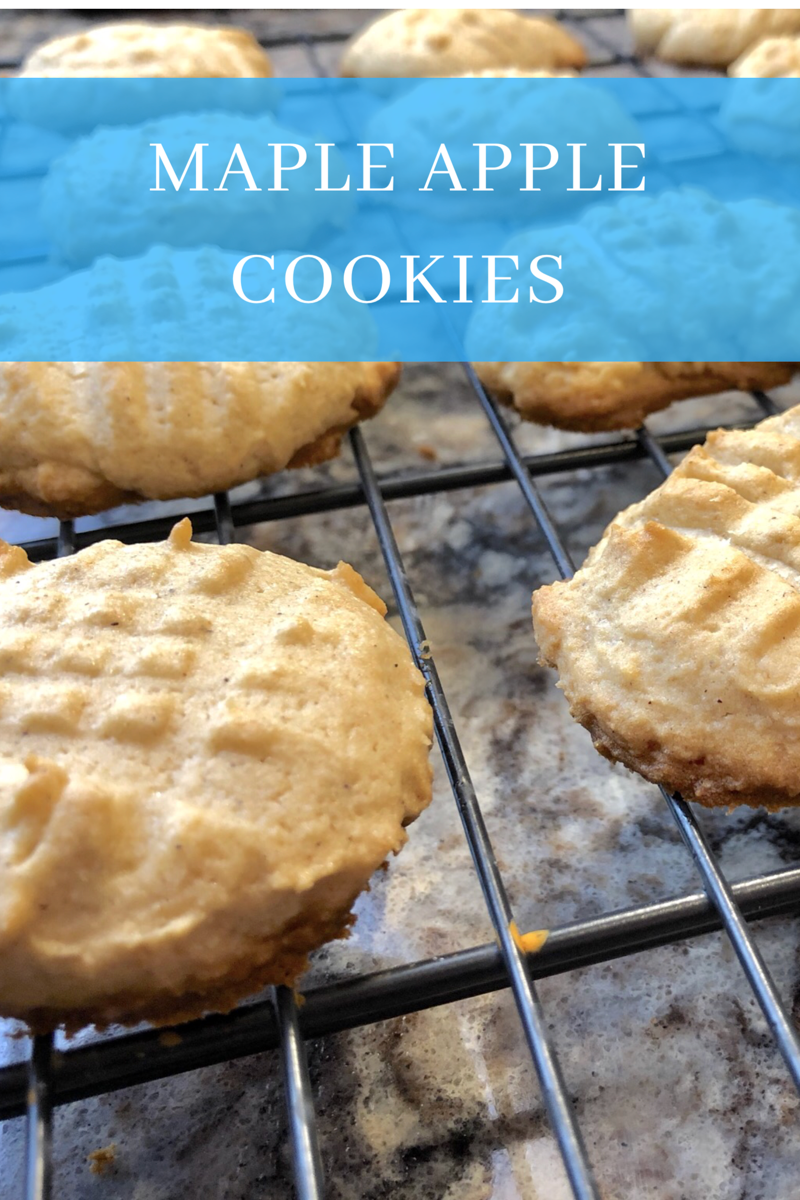 For me there is nothing like baking on a cool rainy day here. I looked in my refrigerator and found some homemade apple sauce and maple syrup and remembered these cookies I use to make. These maple apple cookies are super easy with two bowls to separate the wet and dry ingredients (you could easily combine everything in one to save on washing up) Five minutes mixing, let the firm up for 30 mins in refrigerator, 15 minutes baking and you’ve got a batch of freshly baked cookies that have a great spiced apple taste that are a perfect mix of sweet and savory. Check out the recipe below and don't forget to share these with your friends and family.
Start my combing all of the wet and dry ingredients in separate bowls, mixing everything well. Once you have the wet ingredients all combined add the dry to the wet and mix until just combined. Using a 1" ice cream scoop make about 3 dozen balls on a prepared sheet pan and cool in the refrigerator until the balls are all firmed up, around 30 minutes. I place them all on one sheet pan to save a ton of room. 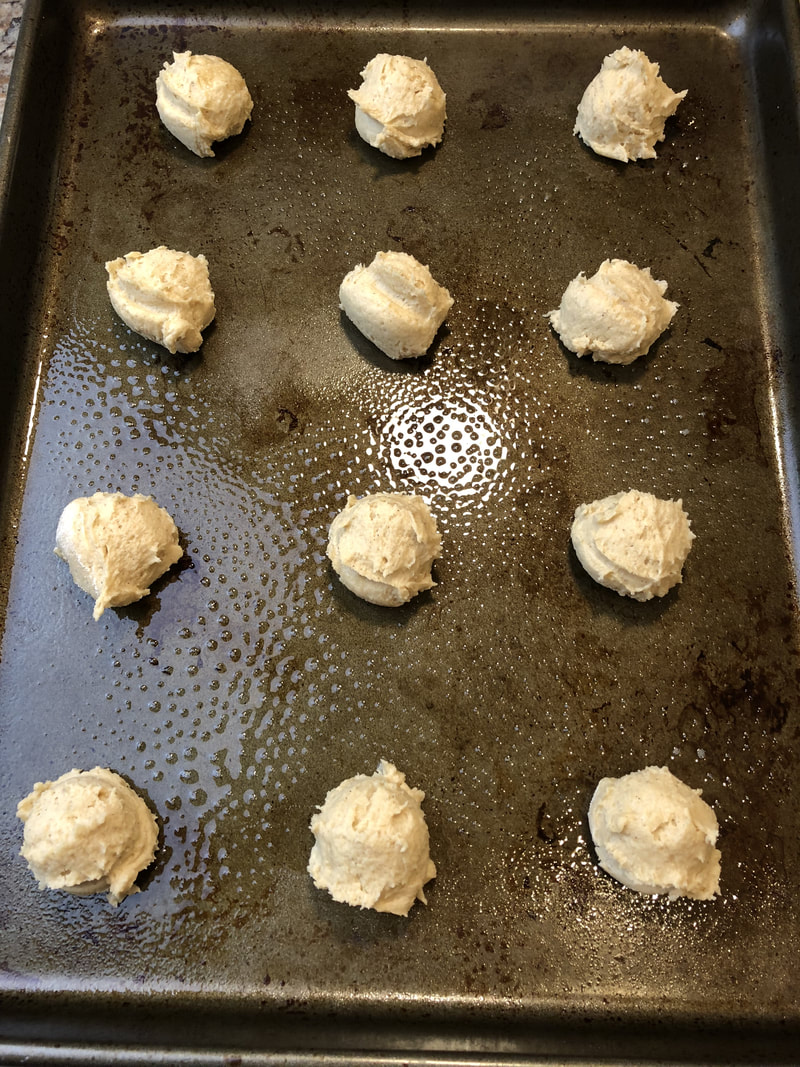 Once the cookies have firmed up, transfer them over to about a dozen on each pan. there should be about 3 inches between each cookie. Using a floured fork, make a crisscross pattern pressing the cookie down to about a 1/2 inch tall cookie. 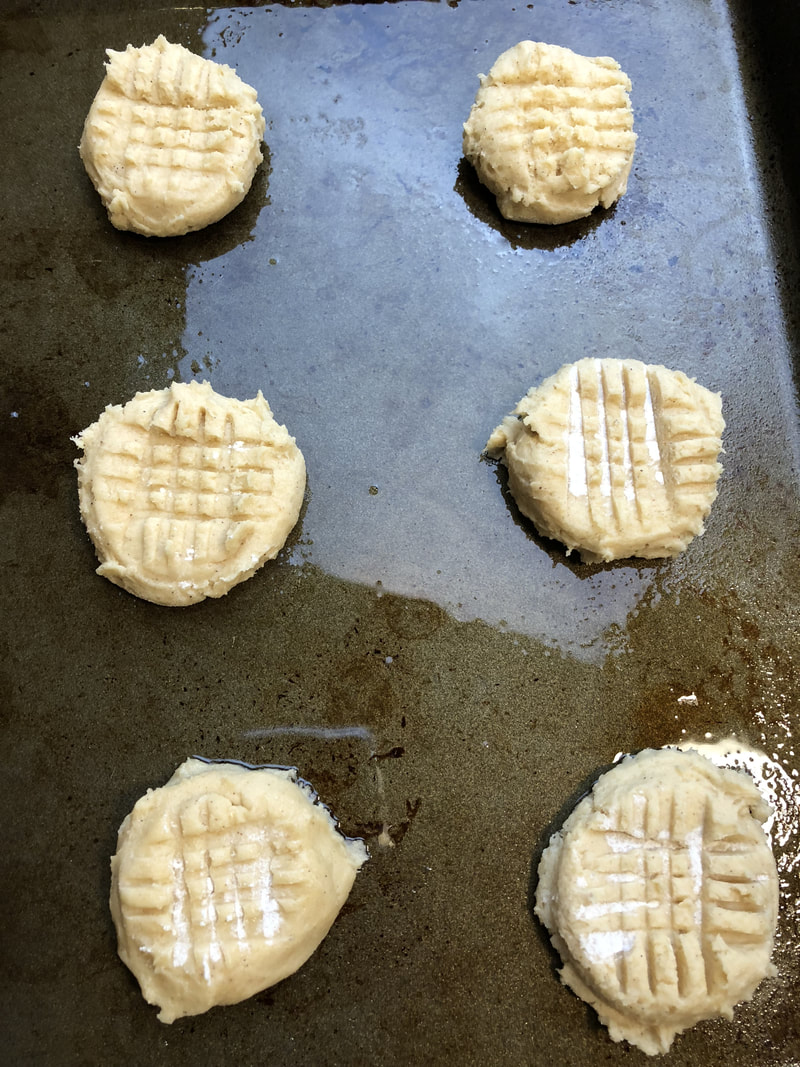 Bake to cookies at 375 for about 15 minutes or until the cookies are a light golden brown. Transfer the cookies to a wire rack and let them cool. Once the cookies are cool, go and enjoy them with your family and friends. I am lucky to have one without my daughter trying to steal them. 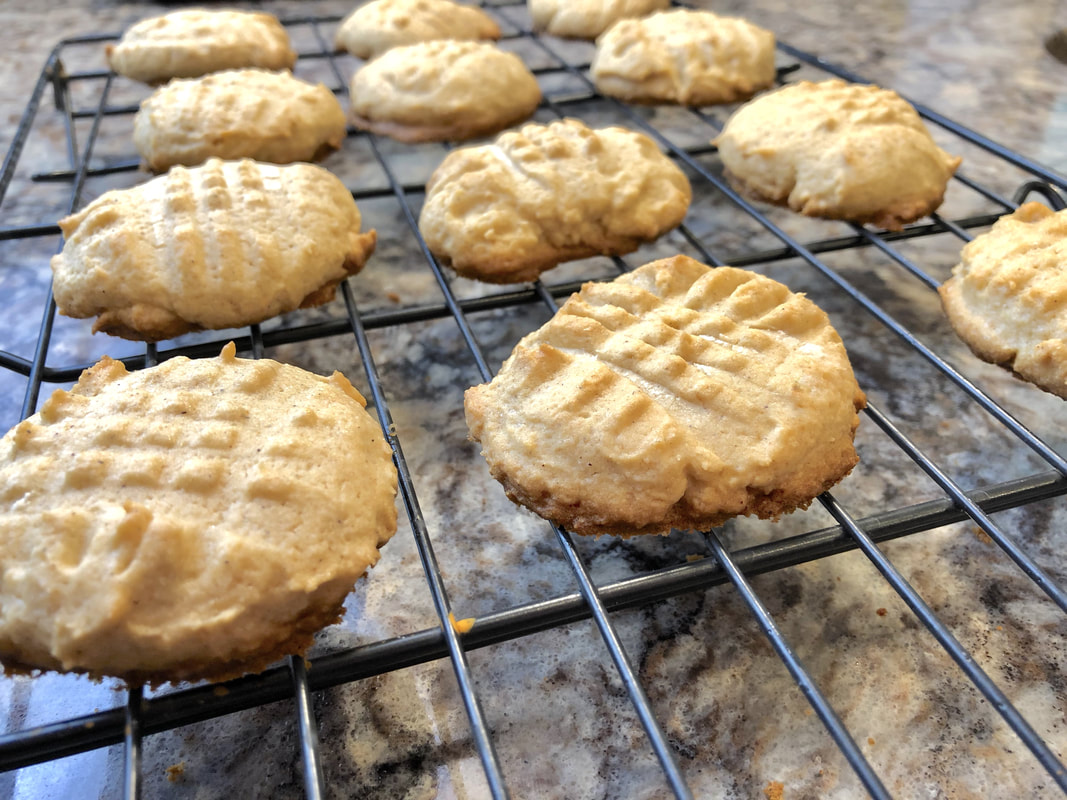 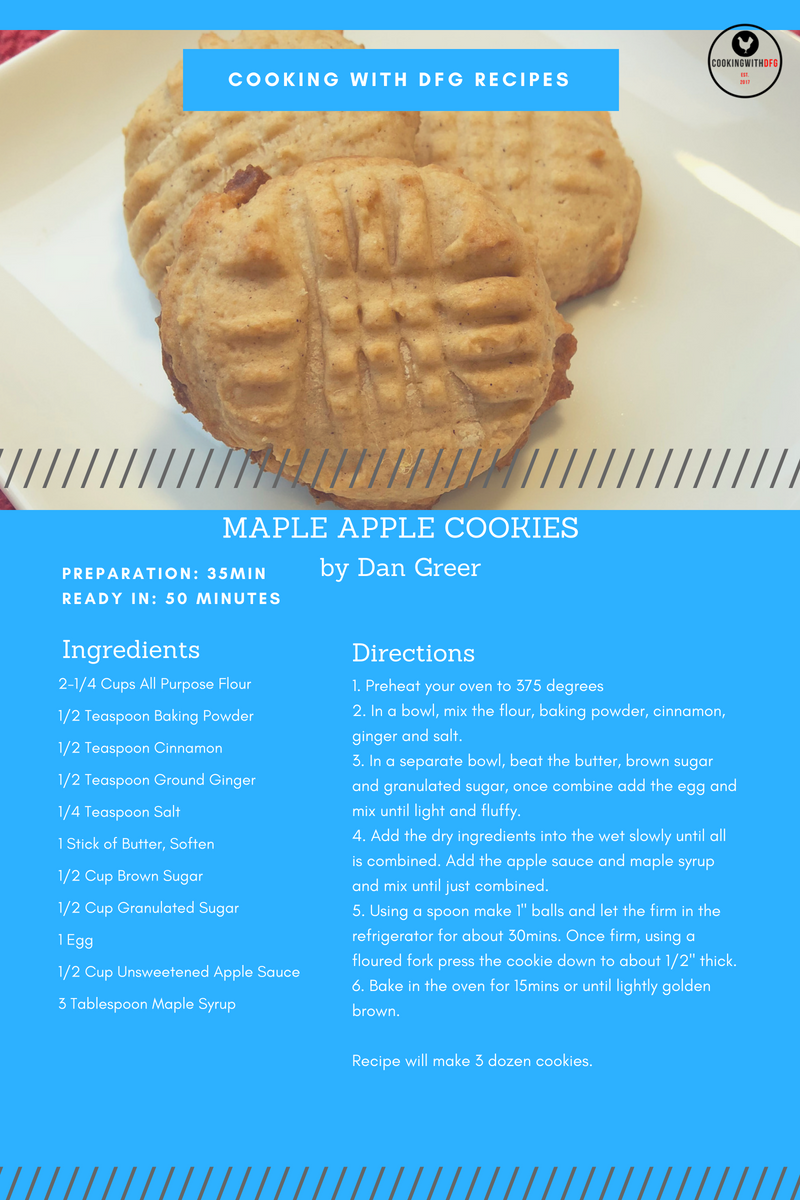 |
Hey everyone, I am Dan and Live in Minnesota. I am here to show you the wonderful world of cooking and baking. As being a young boy in the kitchen to being a chef for over 10 years, I will show you the great recipes I have used over the years and what I do next. Please stick around and Enjoy!!
Categories
All
Archives
December 2021
|